 Cropped
Help
Help / Reference
Preferences
Cropped keeps two kinds of settings apart:
- The Inspector, on the right of the Studio, shows the file you have open: its name, size and format, then its own crop, output, background and file size. Changes there apply to this file only. Use for all files makes the open file's output the default for every picture in the queue. The Inspector shows up once you add a file.
- Preferences (called Settings on a Mac) hold the defaults every new file starts with, and everything app-wide. Open it with ⌘ Command + , (Windows and Linux: Ctrl + ,), the Settings button at the top right of the window (Preferences on Windows and Linux), Cropped › Settings… on a Mac or Preferences… in the menu on Windows and Linux, or the Defaults live in Settings line at the foot of the Inspector (Preferences on Windows and Linux). It opens on the tab you used last. Press Esc to close it.
Drag the Inspector's left edge to make it wider; double-click the edge to put it back. Folded sections show their current value next to the title, such as WebP · 85% for Default output, so you can check a setting without opening it.
When a video is open, the Inspector shows that video's export settings. With Jump Cuts or Captions open under the video, their controls move into the Inspector and the timeline stays in view, with the video's export settings in a fold below.
General
| Setting | What it does |
|---|---|
| Appearance | System, Light or Dark |
| Interface | Guided or Clean. Clean hides helper sentences and the words beside icons that explain themselves. Point at anything to read its full text in the tip. New installs start in Clean; if you picked one before, you keep it. |
| Video imports | Fast previews for heavy videos; reference original, or make a temporary source copy. See Fast previews and import behavior. |
| Saving | The Studio's save folder (with New folder and Show in Finder), file names, and Auto-save after processing |
| Show or hide Drop Zone | Shows the Drop Zone, or hides it |
| Launch at login | Opens Cropped when you log in. Off by default. |
| Watch folder (auto-optimize) | Optimizes new files in a folder you choose, with Drop Zone settings |
| App updates | Downloads in the background, then offers Restart to update when work is safe. Details. |
| Optional features and Permissions | Install extra tools such as Automatic Captions, and check the permissions Cropped asks for |
| Share anonymous usage & diagnostics | Off by default. Helps fix problems. Never includes your files, file names or paths; the setting lists exactly what is sent. |
| Report a bug or request a feature | Opens the Bug report tab. |
Images
The starting point for new pictures. A picture you change in the Inspector keeps its own changes.
| Section | What's in it | More |
|---|---|---|
| New files start with | Pick the job: Web, AI & LLMs, Social, Compact, Lossless, or Custom for any other preset | Optimize for |
| Crop | Original (default), Free, 1:1, 4:5, 16:9 | Crop |
| Export sizes | Social media sizes and your own collections. Manage… in the export sizes tray under a picture opens this section. | Export sizes |
| Default output | Image preset, format, quality, max width and height, max file size, scale | Optimize images |
| PDFs | PDF size for PDFs dropped on the Studio or the Drop Zone: Print, Screen (default), Smaller, Smallest, Under a size or Keep size. One setting for both windows. | Shrink a PDF |
Background, Fill, Smart crop, favicon and app icons, and File size belong to one picture, so they are in the Inspector.
Video
| Setting | What it does |
|---|---|
| Video defaults | The preset and settings new videos start with. See Video formats. |
| Speech model | Fast or Accurate, for Captions and Jump Cuts. Each downloads once, then works offline on this computer. |
| Your computer | Your operating system version, processor, memory and temporary storage details, whether Cropped runs through emulation on an Arm PC, with workload recommendations. |
Capture
Shortcuts, screenshot options and recording options. See Screenshots, Screen recording, Zoom in on clicks and Use Cropped as your screenshot tool. Show capture history in Finder opens the folder with every capture.
Drop Zone
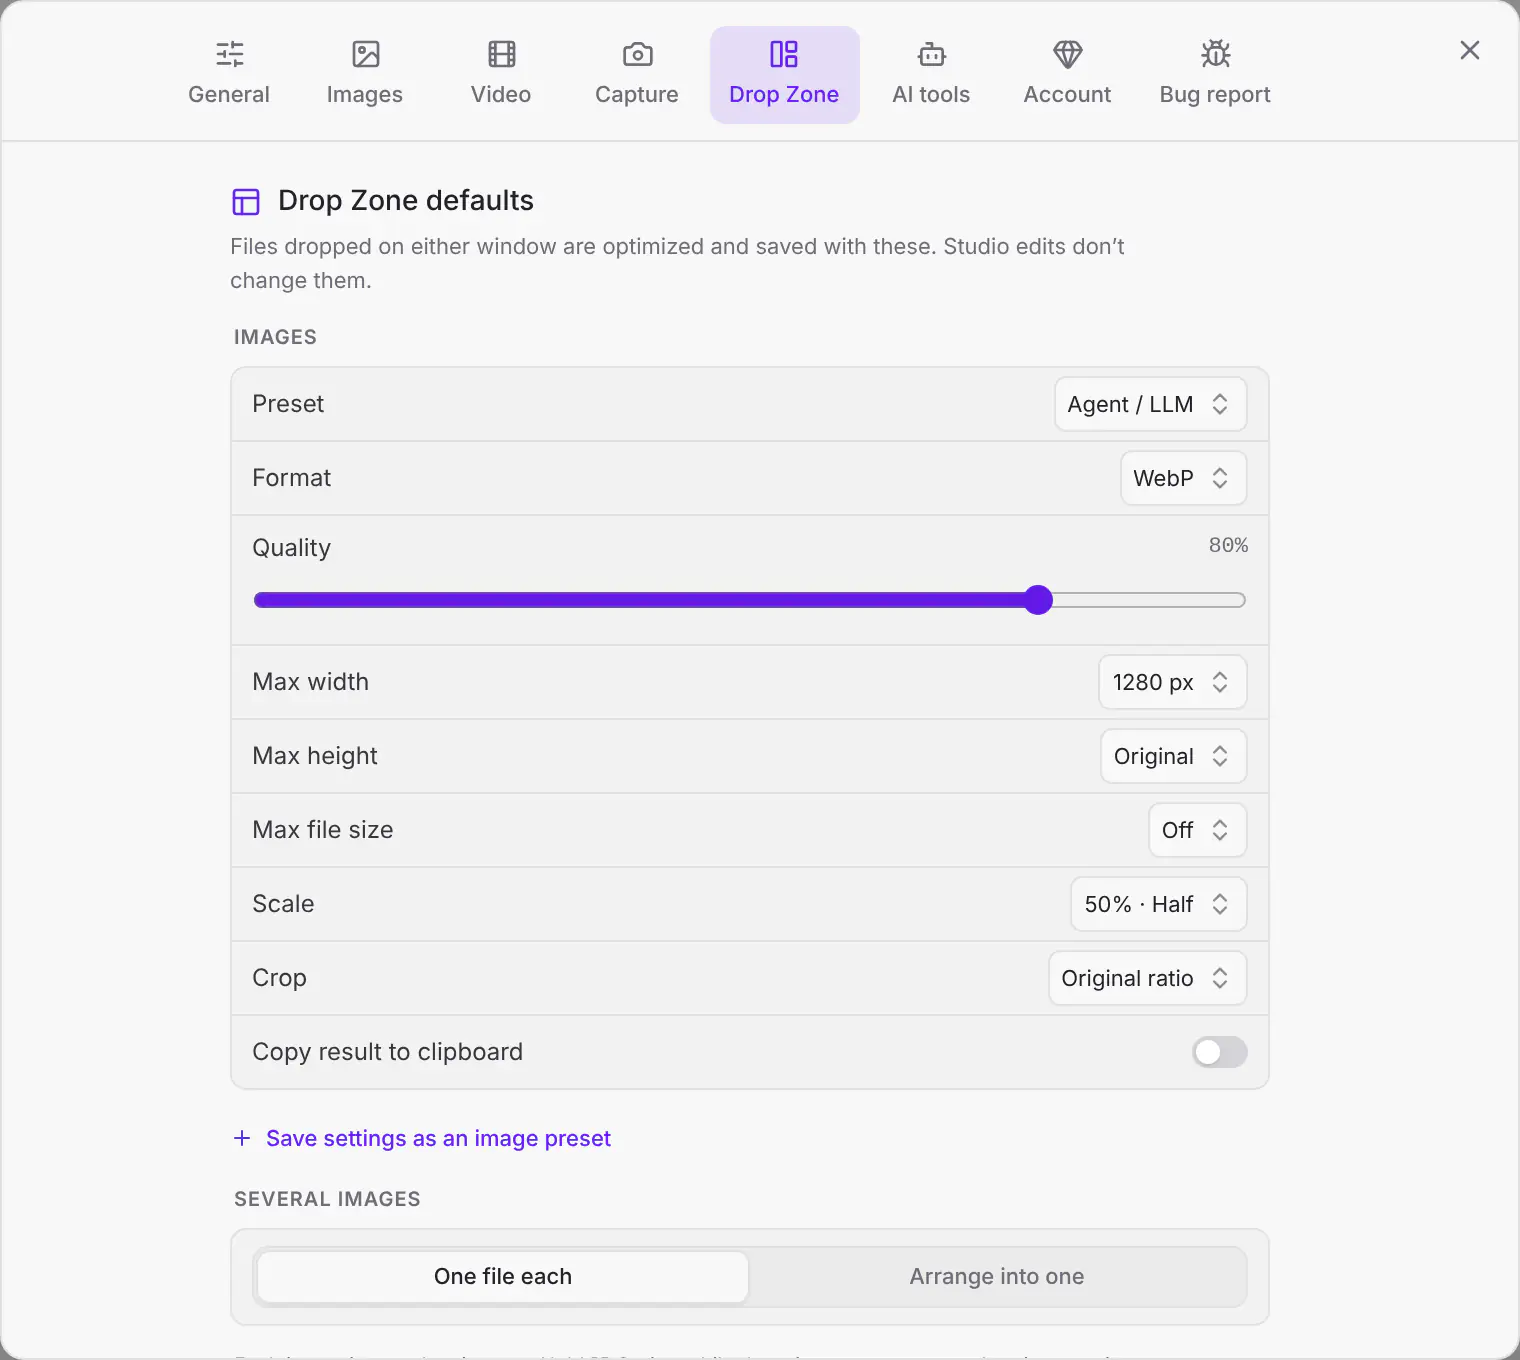
What happens to files you drop on the Drop Zone or that land in a watch folder. Editing files in the Studio never changes these.
| Setting | Choices |
|---|---|
| Preset, Format, Quality, Max width, Max height, Max file size | Same as in the Studio |
| Scale | 100% (full), 75%, 50% (half), 33% or 25% (quarter). Applied after cropping. |
| Crop | Original ratio, 1:1, 4:5 or 16:9 |
| Copy result to clipboard | Copies the result as PNG after each drop. Batches copy the last image. |
| Several images | One file each, or Arrange into one to turn a drop of two or more images into one compressed image, with its layout, padding and background. See Arrange every drop. |
| PDFs | PDF size, the same setting as Preferences › Images › PDFs. See Shrink a PDF. |
| Videos | Every video setting for dropped videos: starting preset, format, codec, file size, maximum size, frame rate and audio. They also use the crop ratio above. See Video settings for dropped videos. |
| File name | Add “-cropped”, Add “-optimized”, Keep the original name, or Add my own ending. First in the Drop Zone tab. |
| Ending | Always shown. Type any ending (such as -web) to use your own; an example shows what photo.jpg saves as. |
Show or hide Drop Zone brings the Drop Zone back if you hid it, or hides it.
AI tools
| Setting | What it does |
|---|---|
| AI tools | Connects Claude Code, Claude Desktop, Cursor and Codex to Cropped. See AI tools. |
| Provider connections | Optional OpenAI, Gemini or OpenAI-style image keys, kept only on this computer. Cropped uses them for AI fill when you pick it, and your AI app uses them to make new images through Cropped (generate_image, see AI tools), billed to you by that provider. An optional Claude key, with its own switch, lets Cropped make annotation styles from a brand. |
Account
Your trial, Core license, Platinum or Pro add-on. See License and trial.
Sharing turns on Cropped storage for Share link and shows the space you've used, picks which file it shares by default, sets up comment emails, and lists every link you've made.
Bug report
Tell us about a bug or ask for a feature, right from the app. No account or email is needed, and it works with diagnostics off.
- Choose Report a bug or Request a feature and write what happened or what you'd like.
- Click Review feedback. Emails, links, file paths and IP addresses are removed, and you see the exact text before it's sent. A bug report can attach your system details and the end of Cropped's local log. You read those too, and can untick them.
- Click Send reviewed feedback.
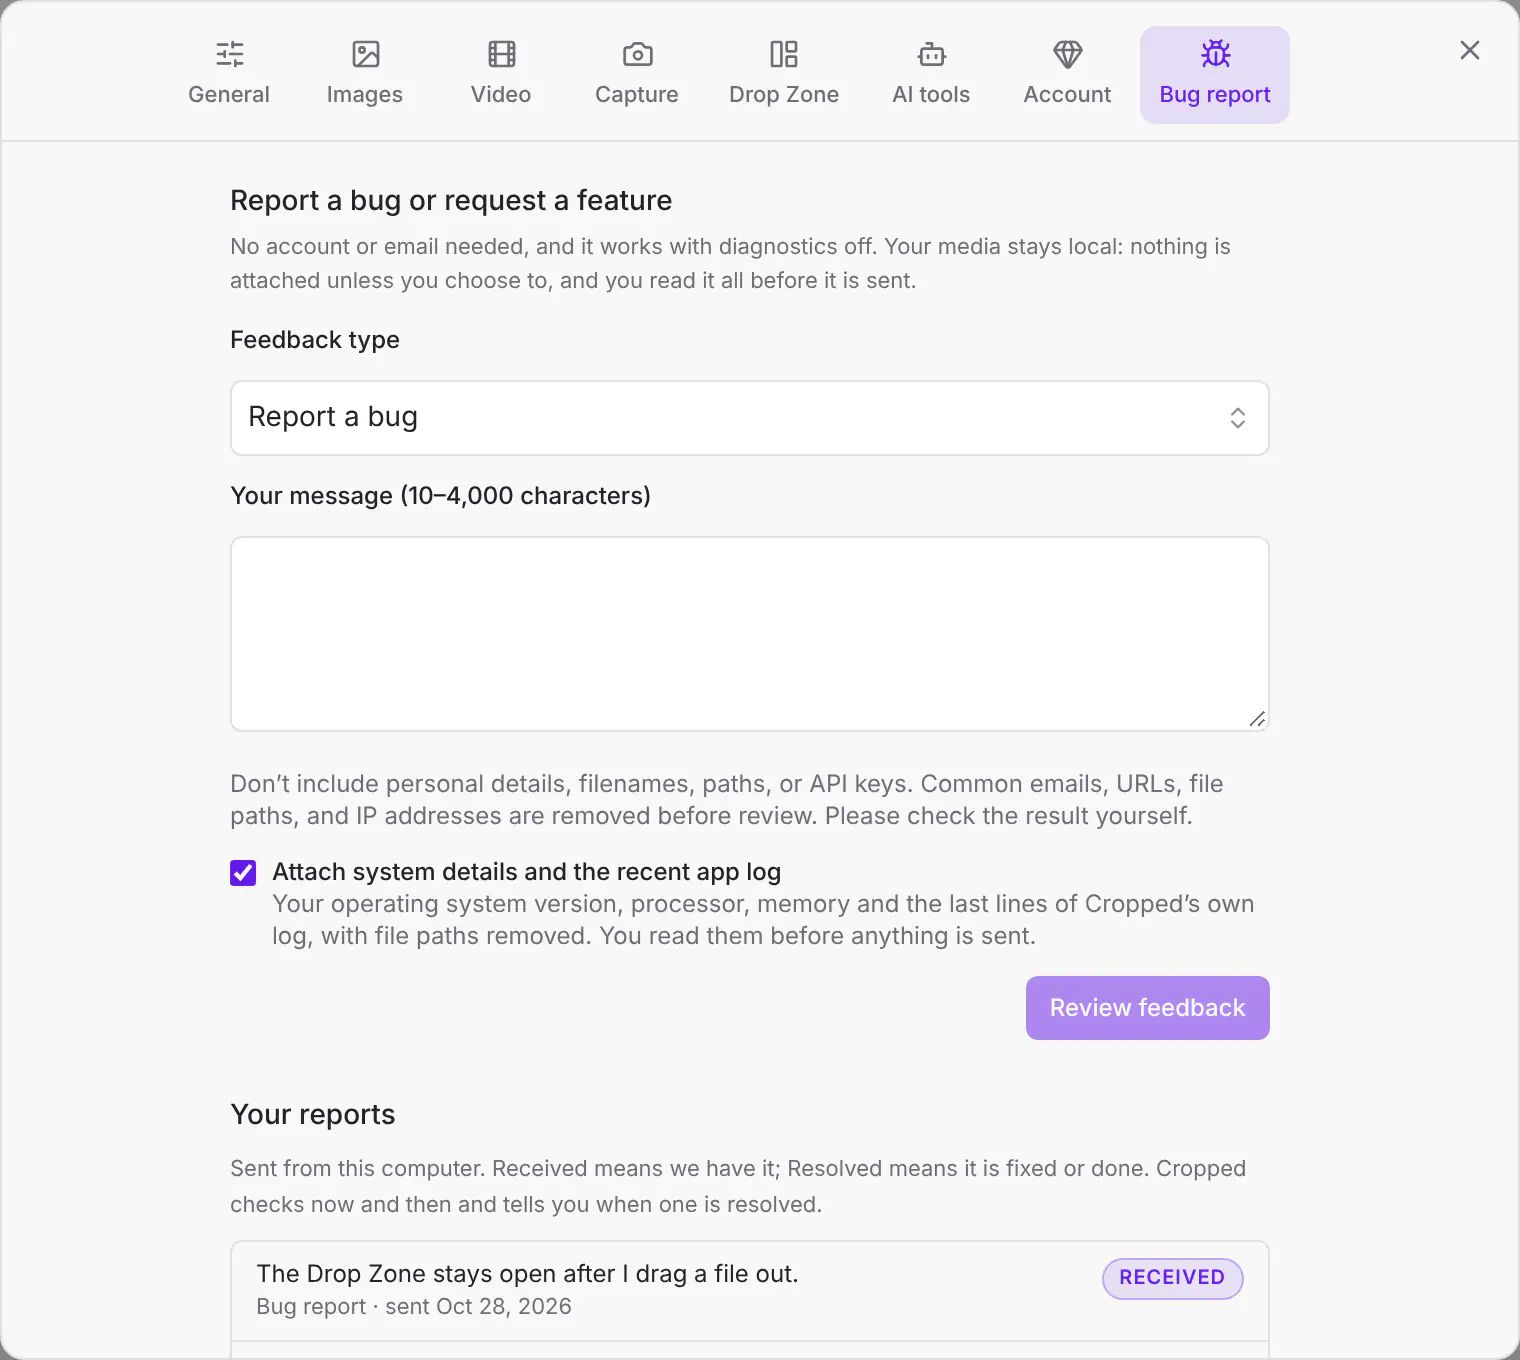
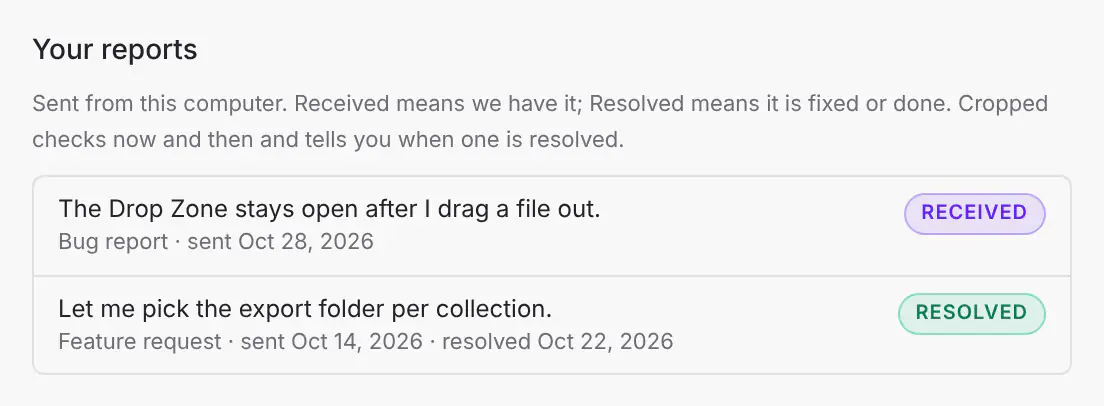
Your reports lists everything sent from this computer. Received means we have it. Resolved means it's fixed or done. Cropped checks when it opens, every few hours while it stays open, and whenever you open this tab. When a report is resolved, a notice tells you, even before the next version update. Reports stay anonymous: the list is kept on this computer only, and Cropped checks a report using a random receipt number, never your name or email.
You can also request a feature on the website and see what others asked for.
Menus
- Cropped › About Cropped opens cropped.app.
- Window › Show Cropped brings back the Studio.
- Help › Getting Started (Mac) opens the Get started checklist. On Windows and Linux, click ? at the bottom left of the Studio, then Get started.
- Help › What's New opens the Updates page, and Help › Contact Support opens the contact form.
- On Mac, the Capture menu has every capture option. See Screenshots.
Still stuck? Click the ? button at the bottom left of the Cropped Studio to ask, send us a message, or request a feature.