 Cropped
Help
Help / Reference
Cropped on Linux (Beta)
The Linux Beta has the same Studio, Drop Zone and Annotate window as the Mac and Windows apps, with screenshots and screen recording. It's a Beta: everything below has been tested, but on fewer computers than the Mac and Windows apps, so tell us what you find.
What it looks like
These pictures are from the Linux Beta on Ubuntu 24.04.
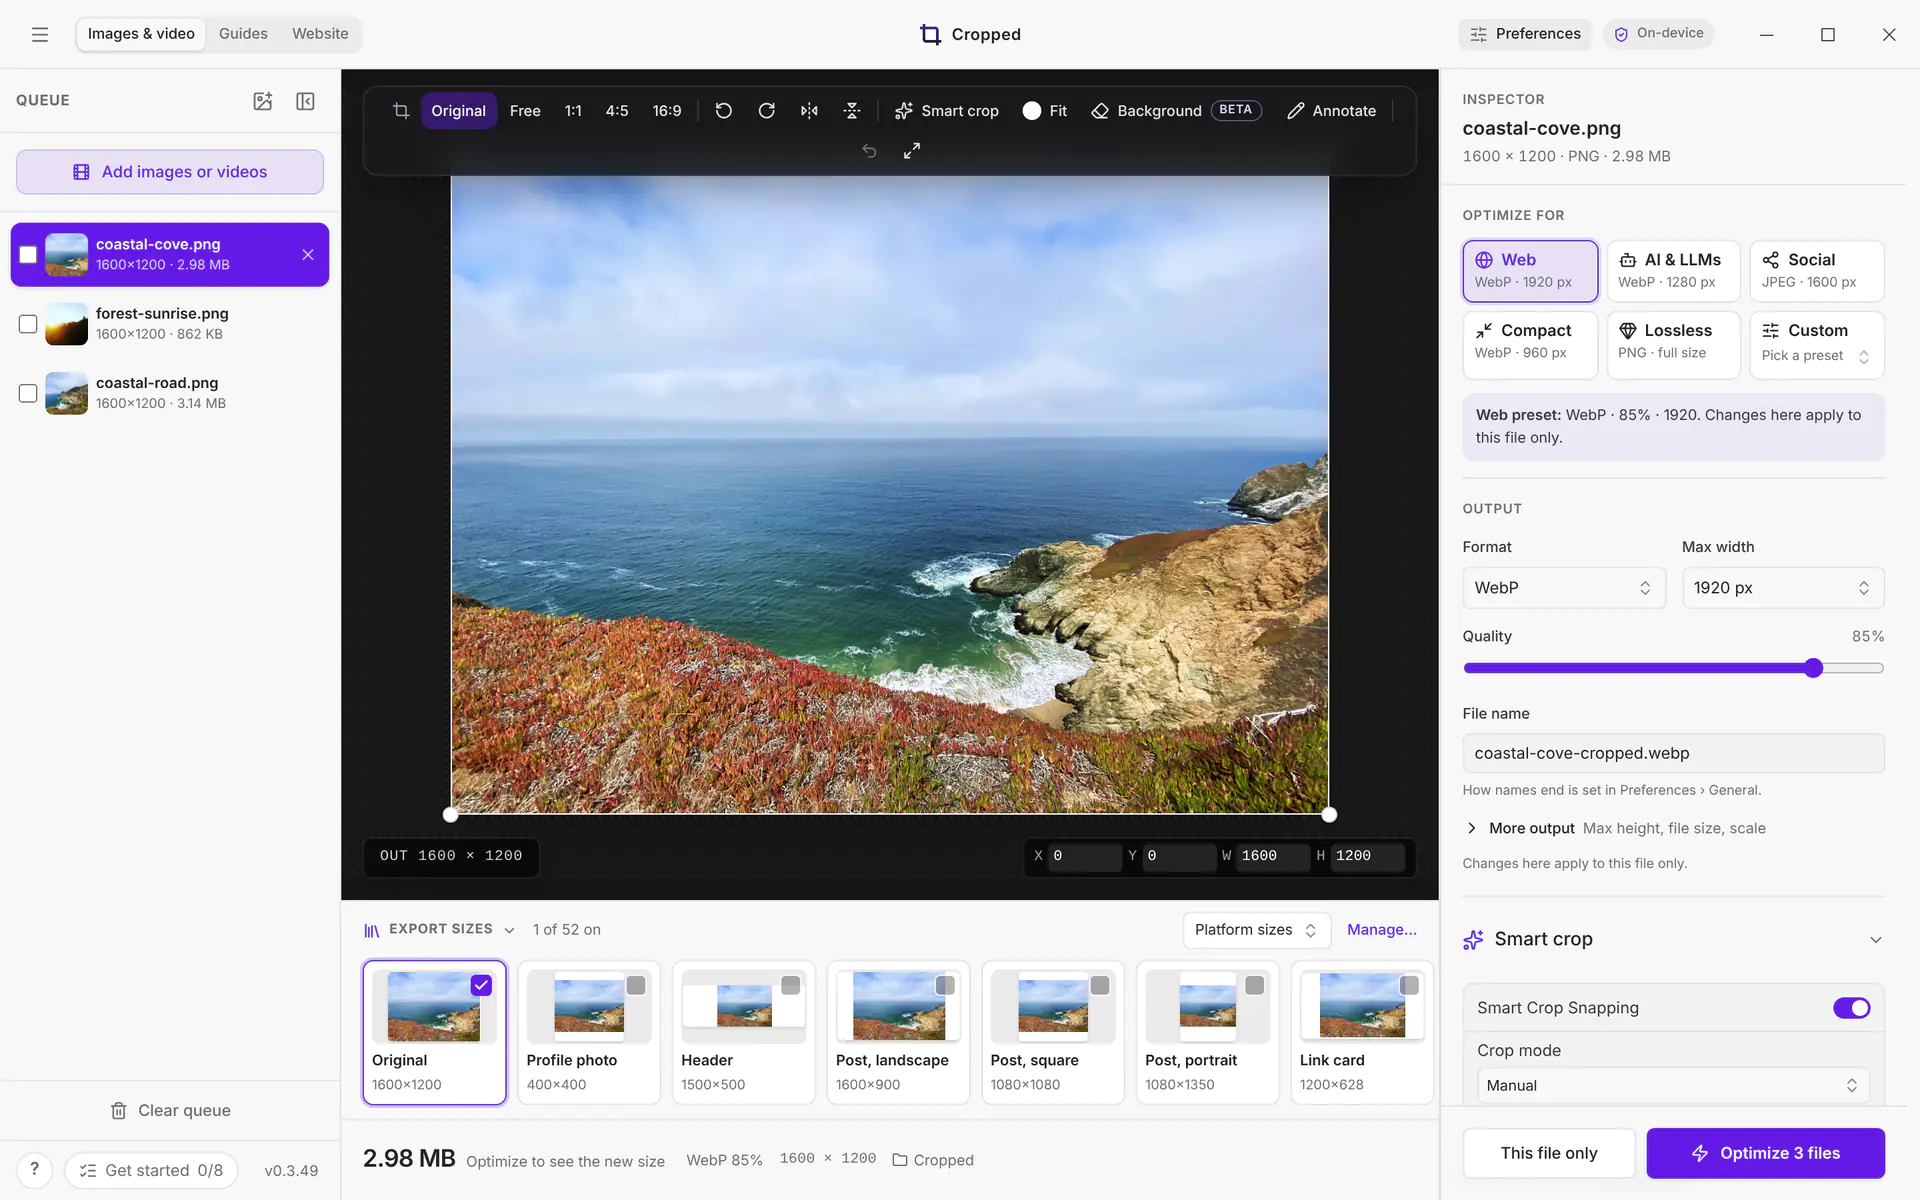
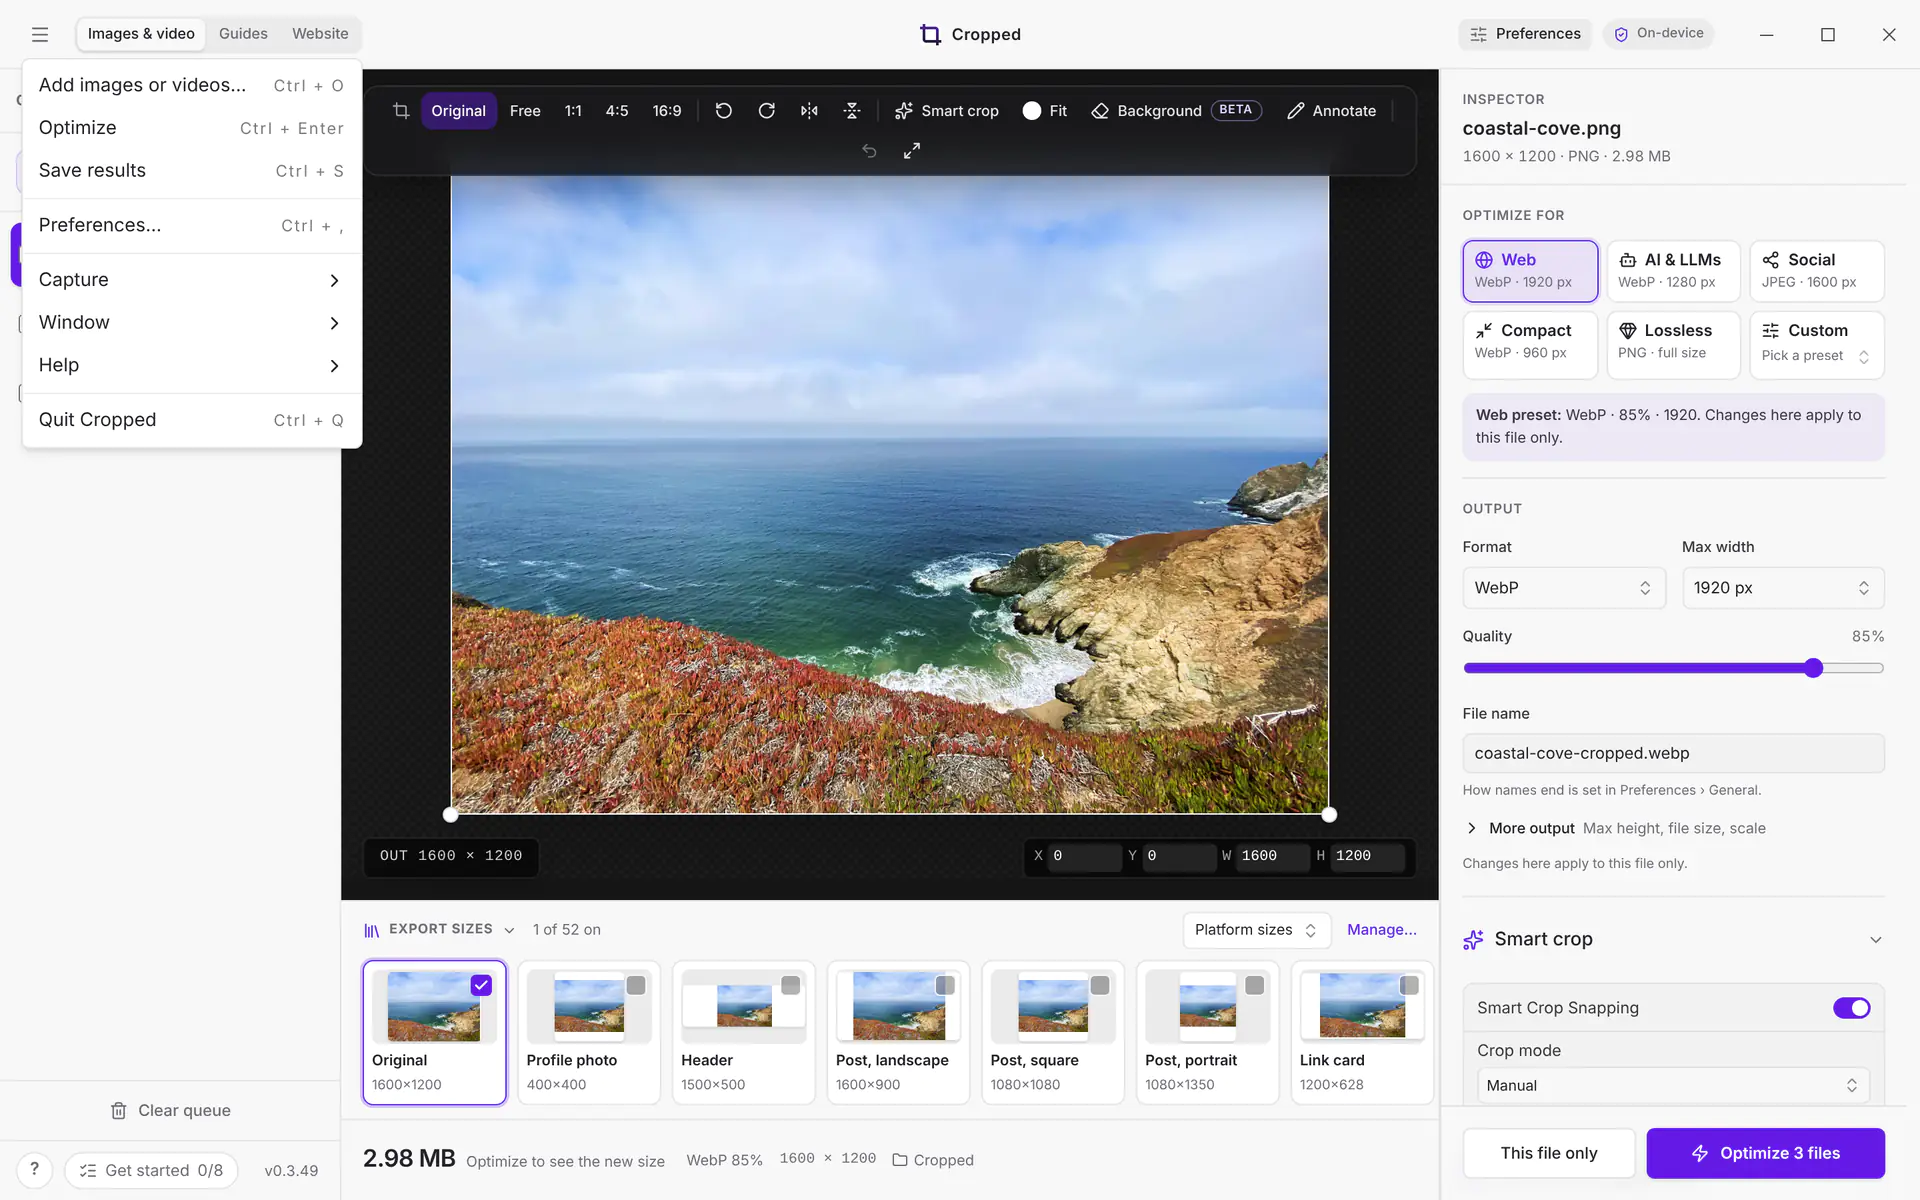
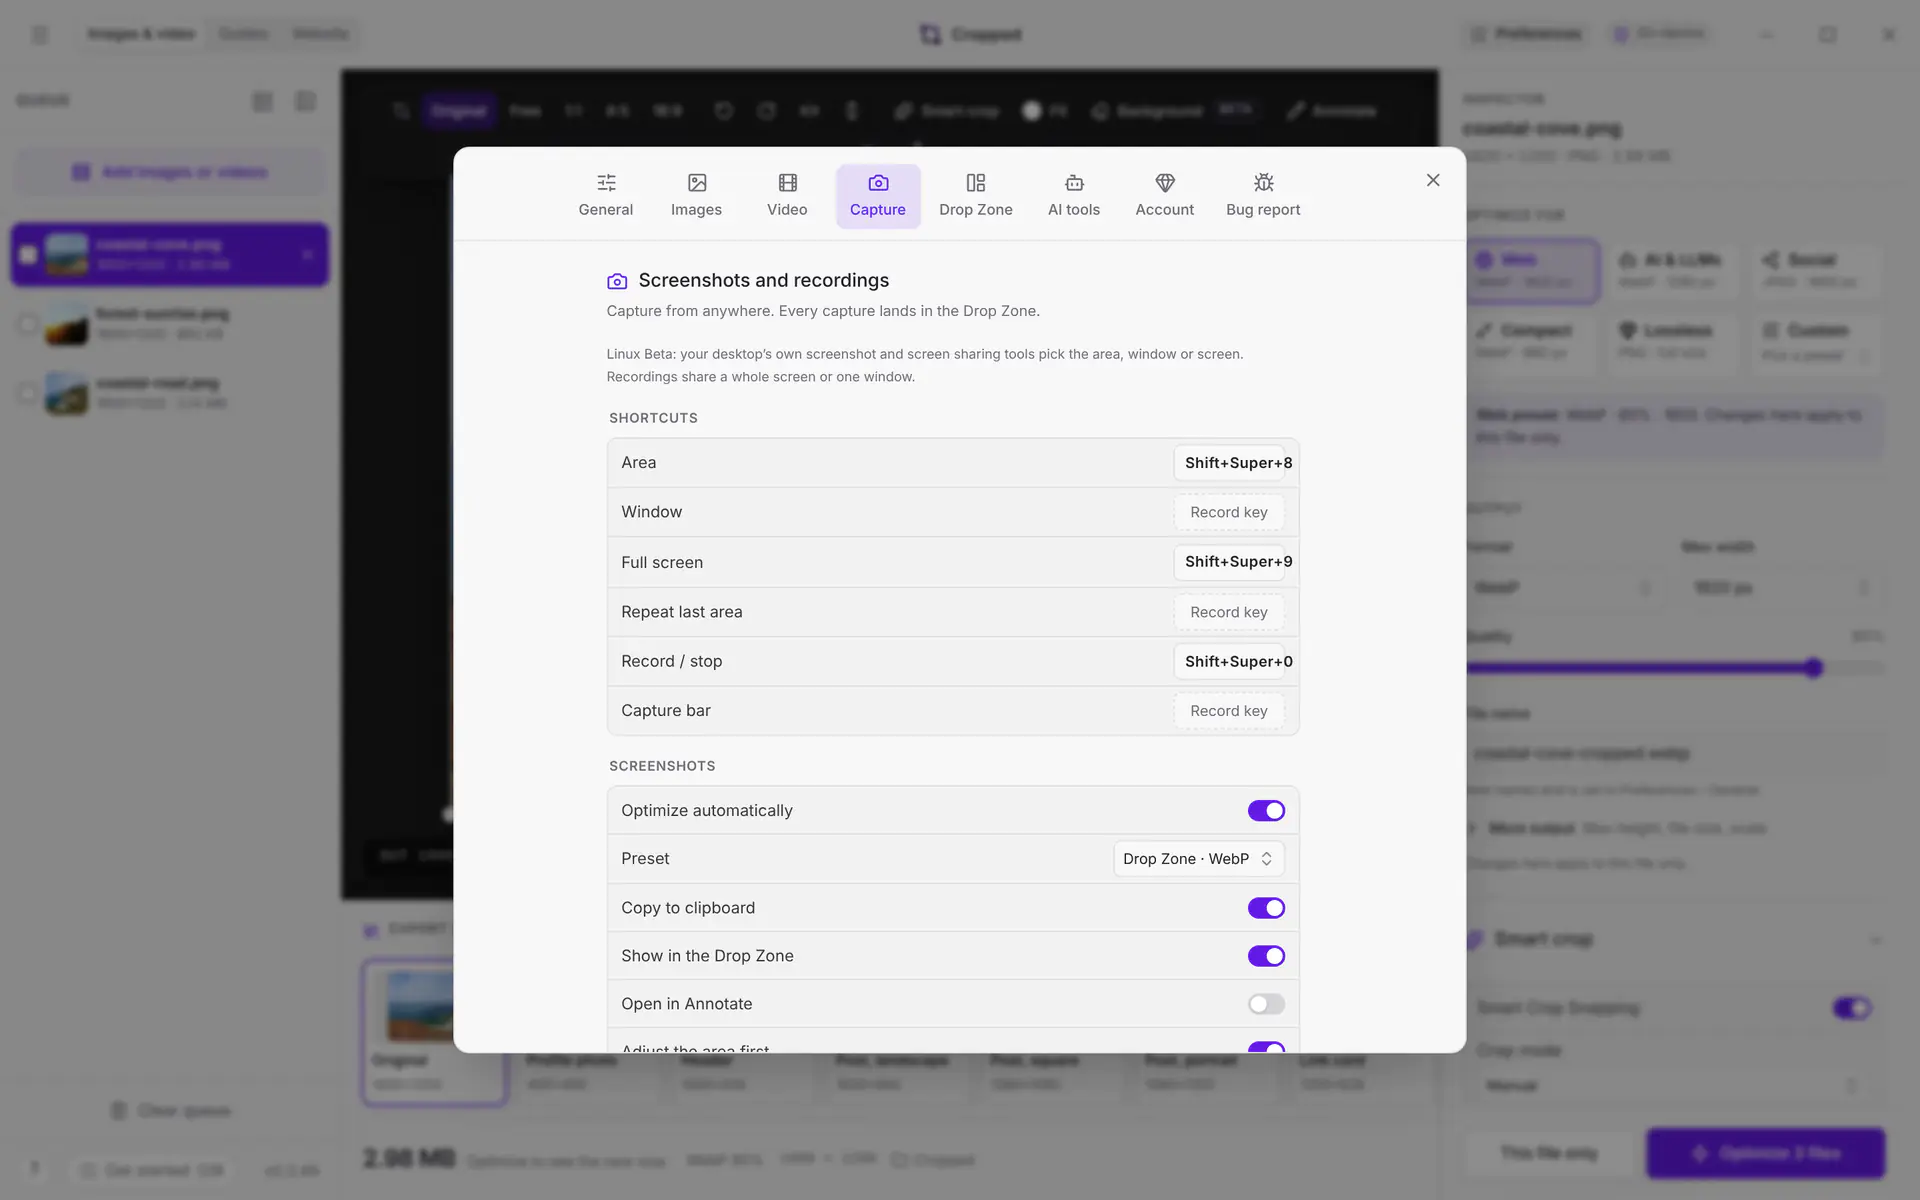
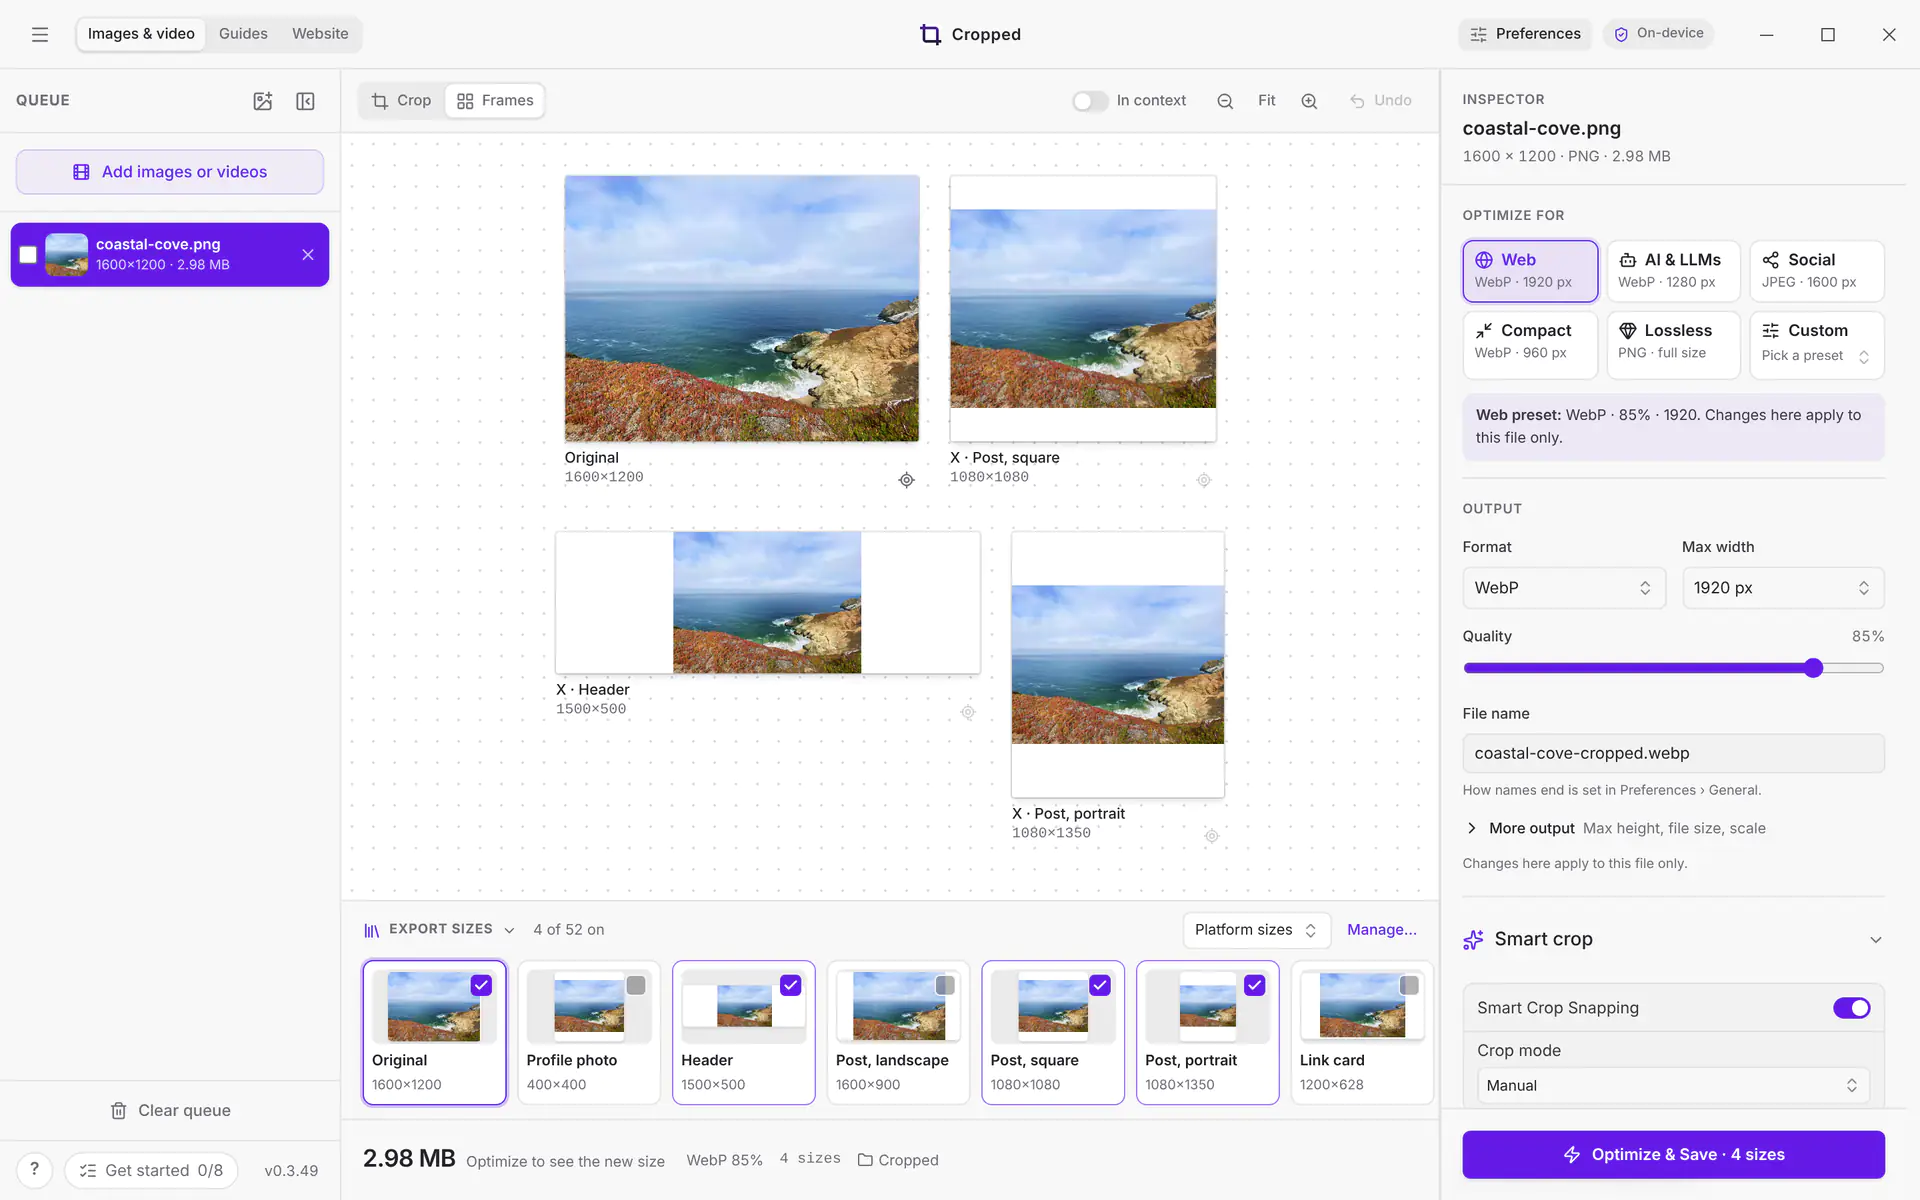
Frames, Guides and PNG or JPG copies
These are the same on Linux as on the Mac. The pictures are from Cropped 0.3.25 on Ubuntu 24.04.
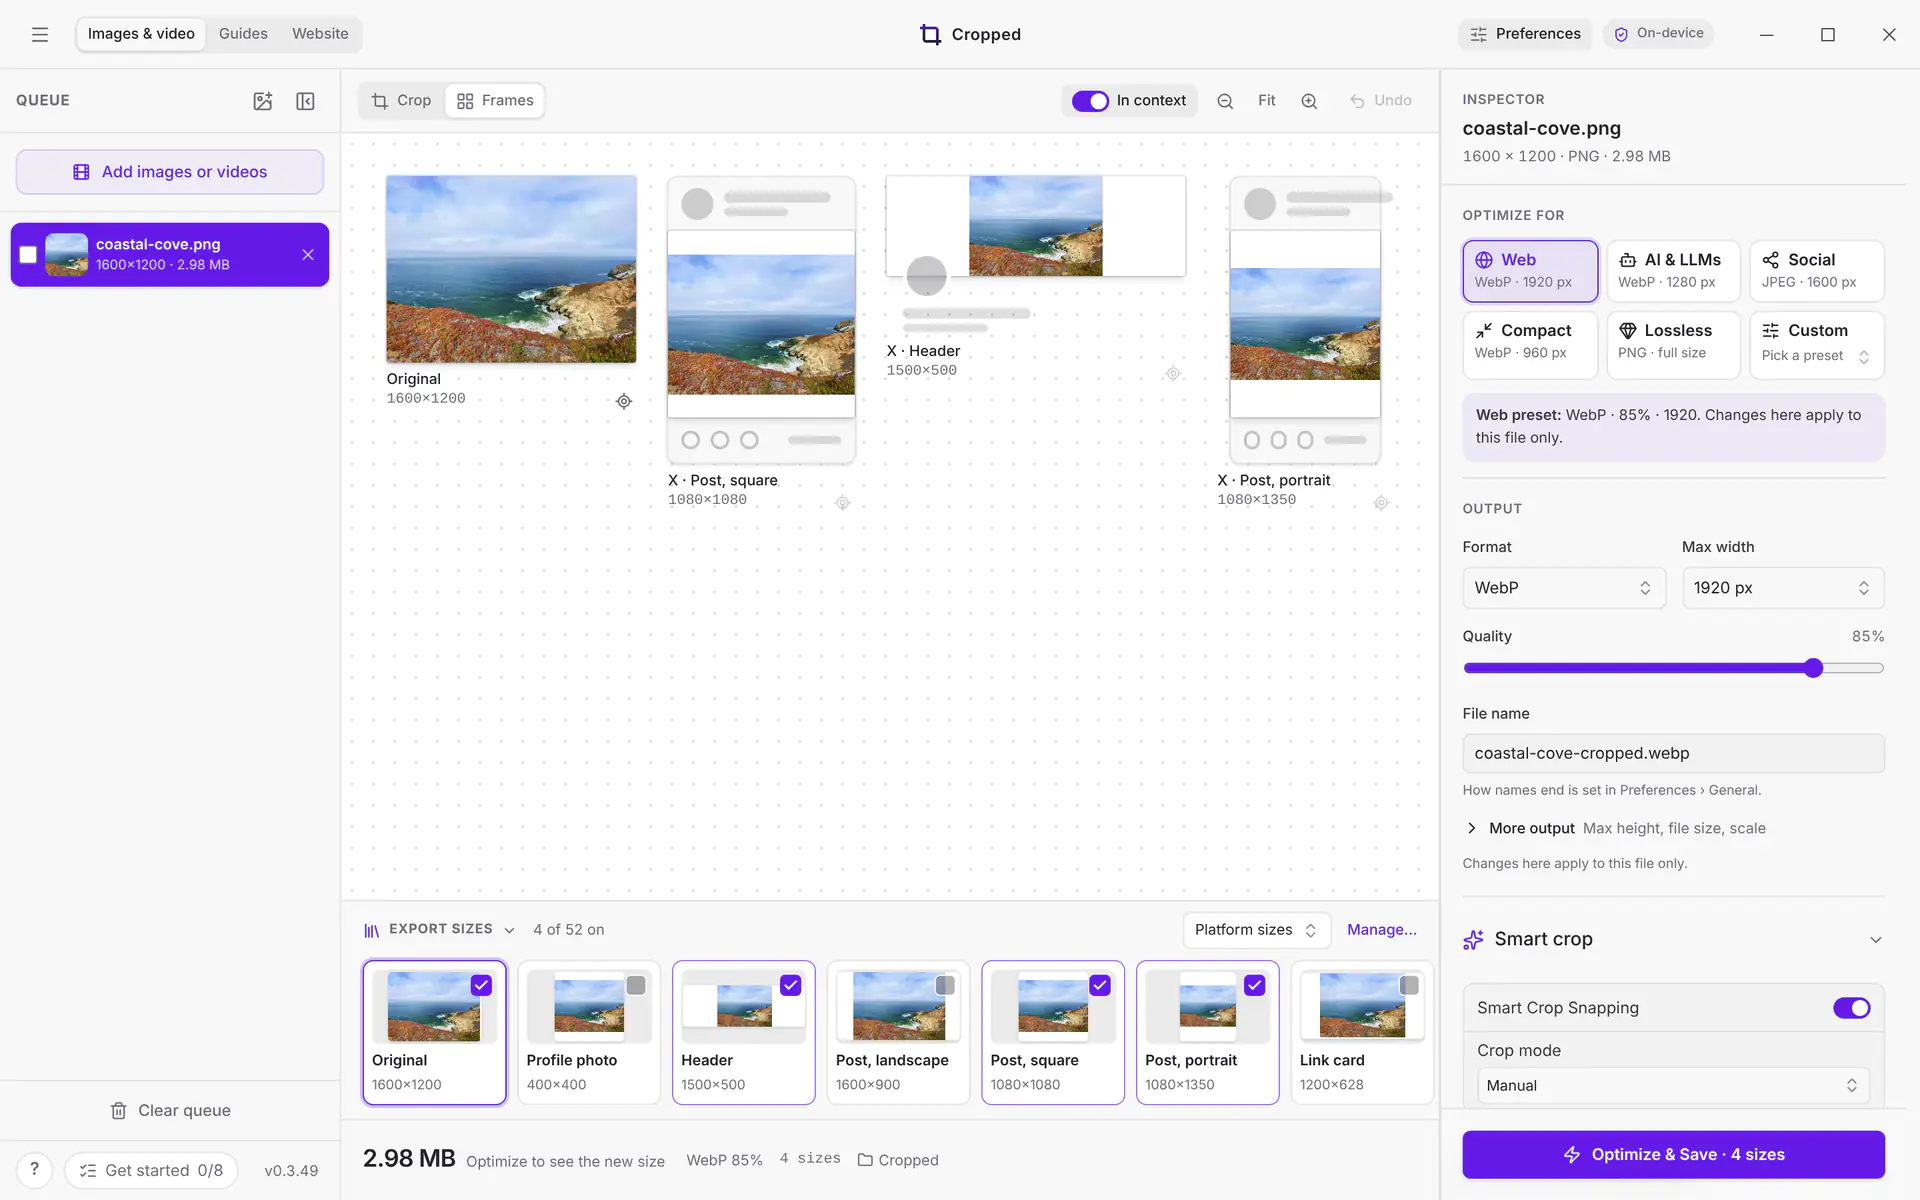
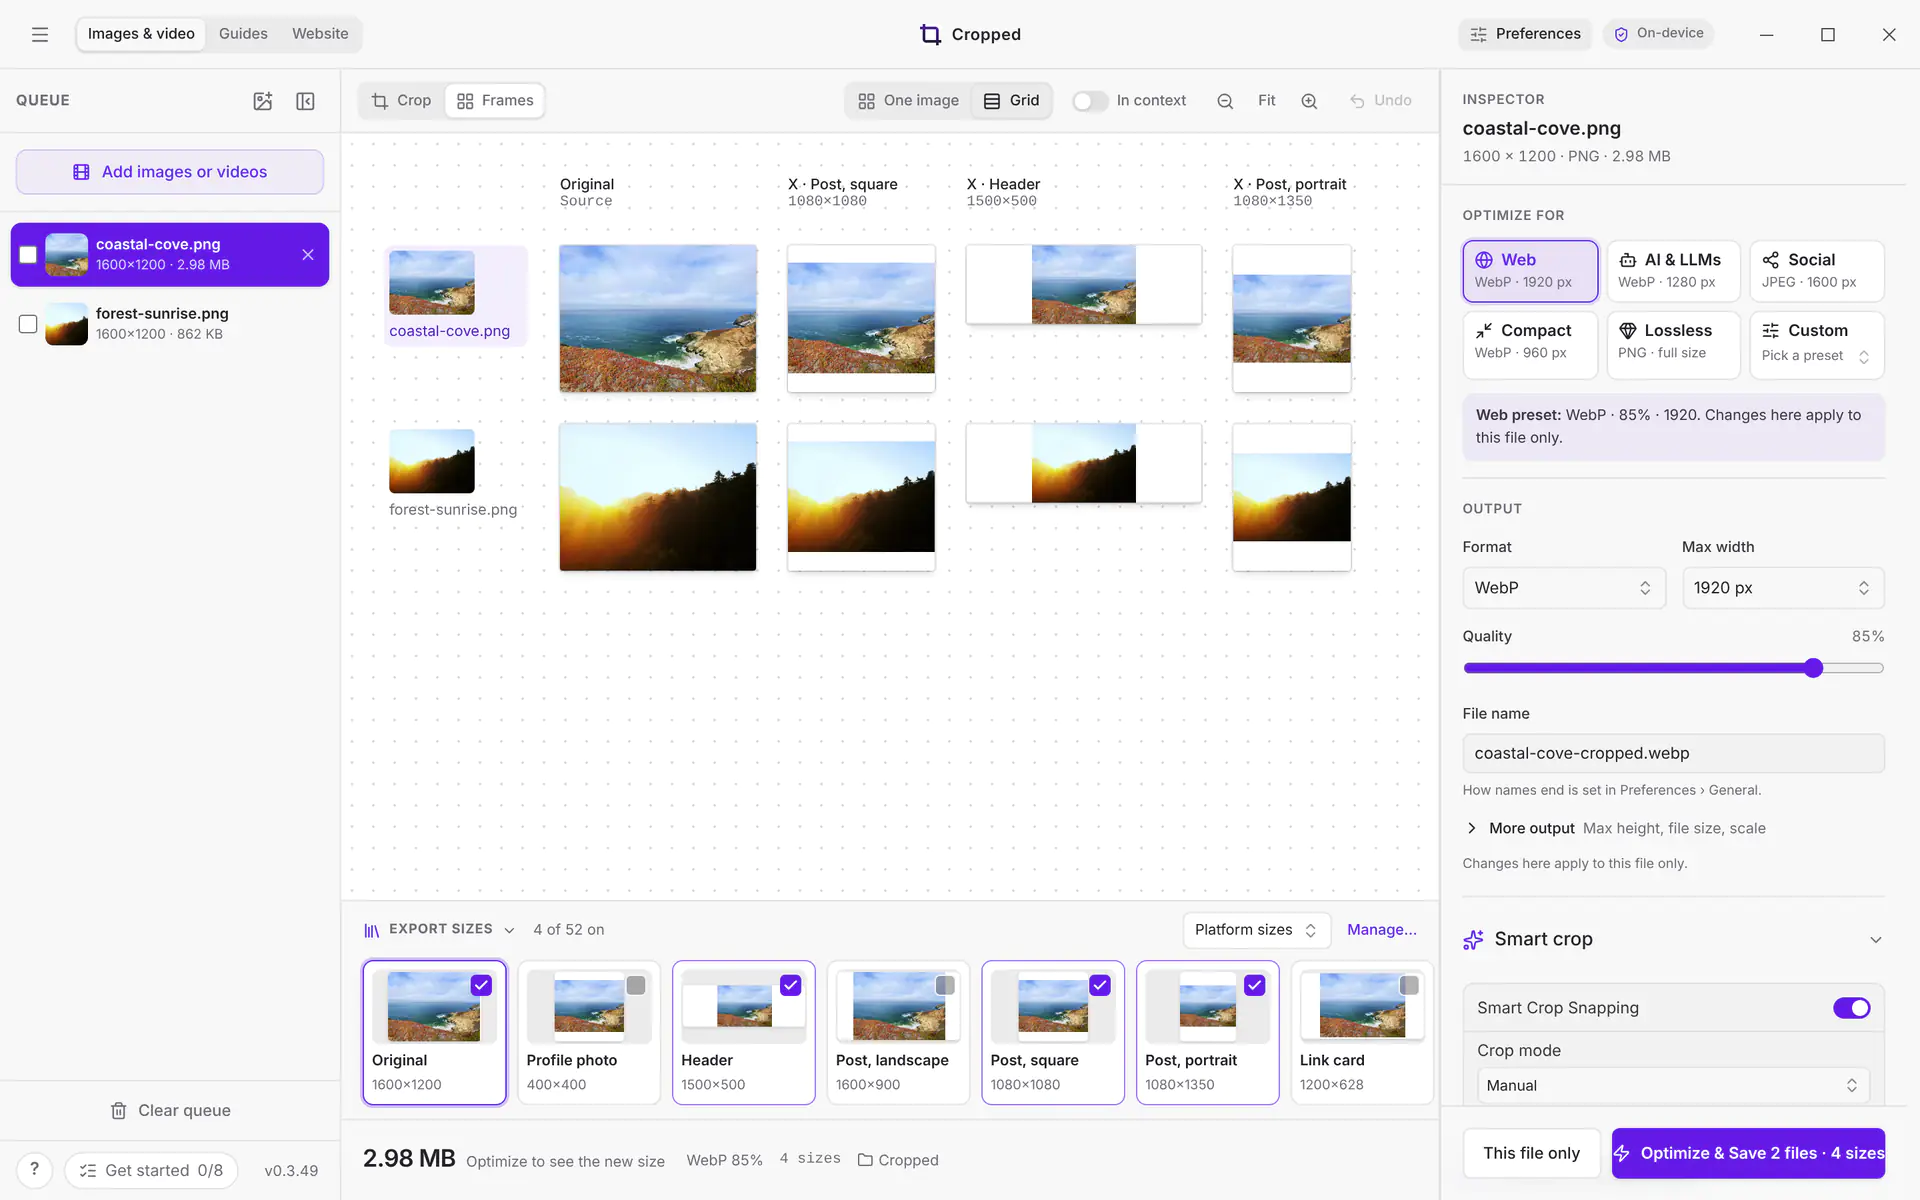
Frames shows every size you ticked side by side. See See every size at once.
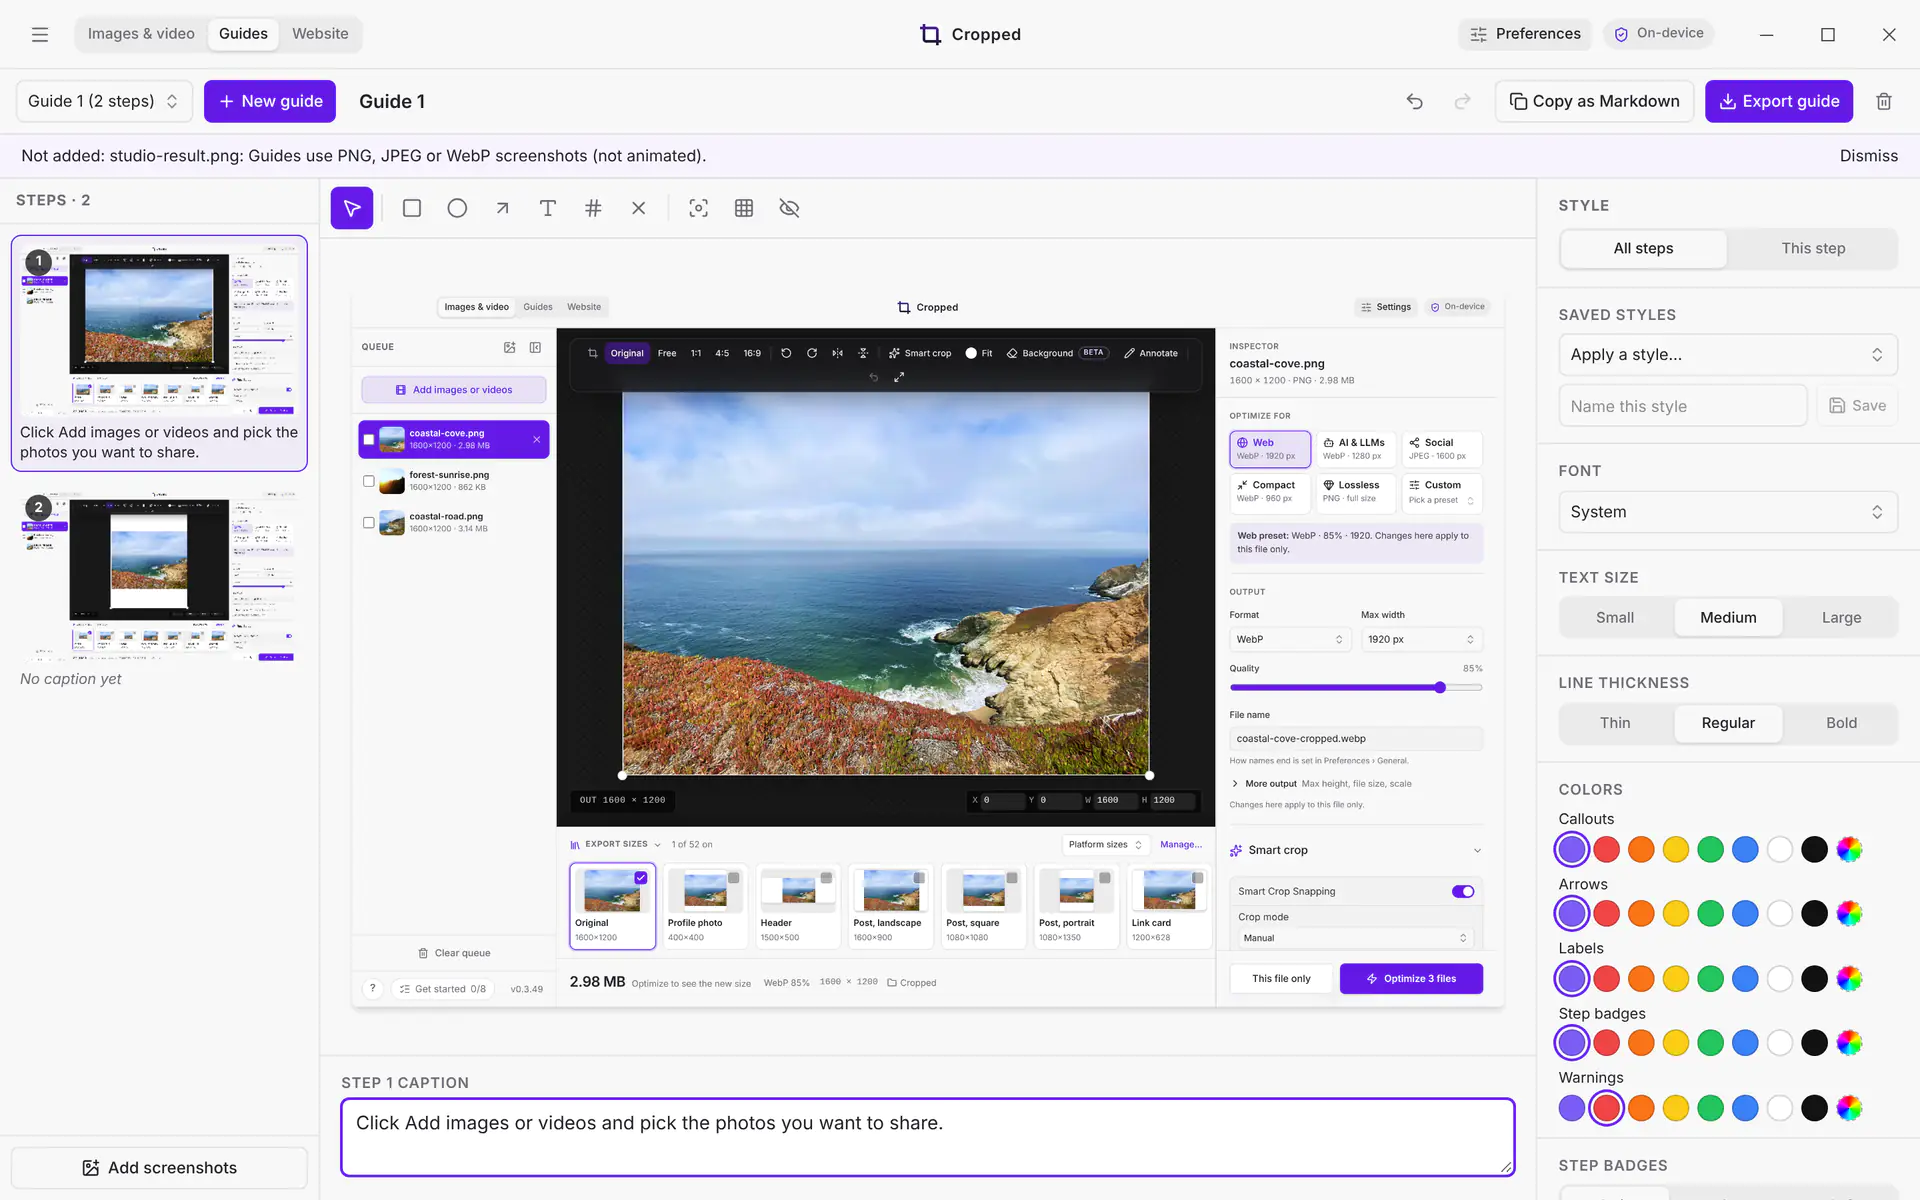
Guides turns screenshots into a step-by-step guide. This one was built by an AI app through Cropped's AI tools. See Make step-by-step guides.
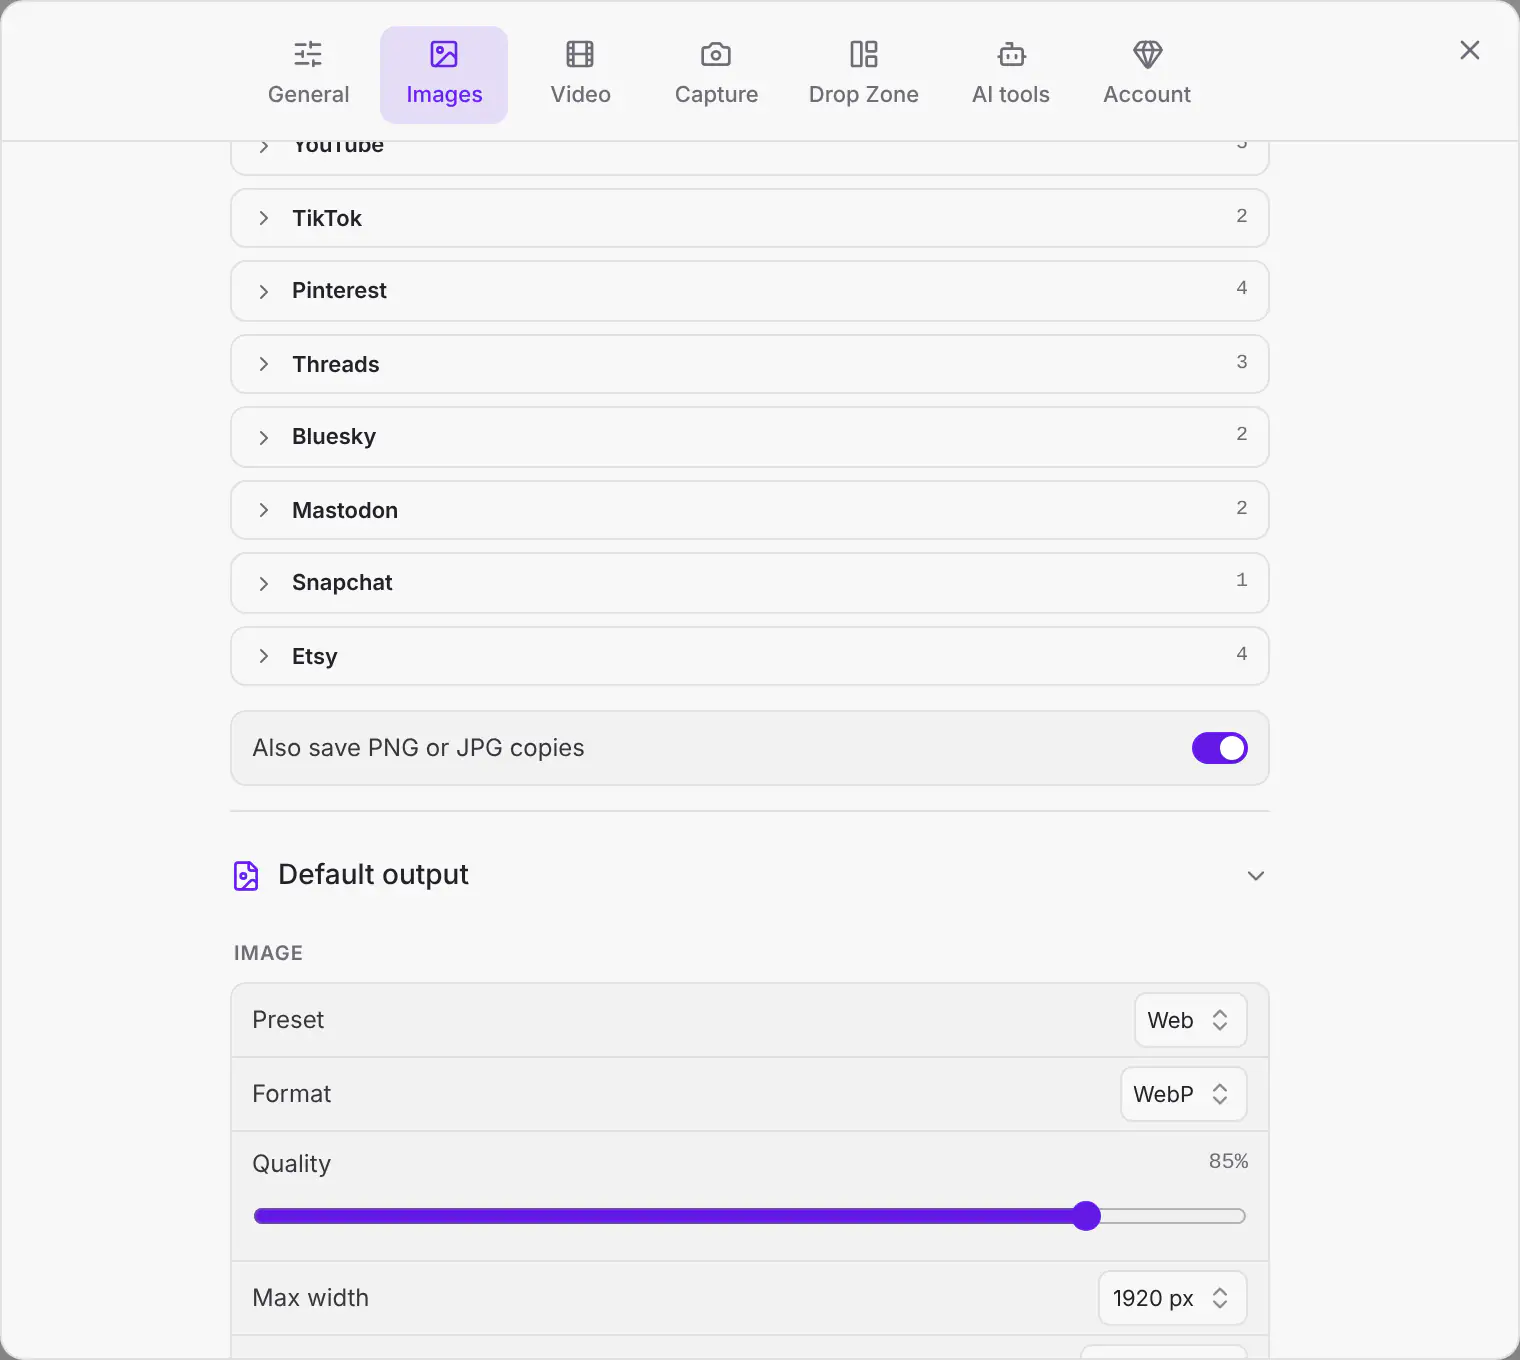
Also save PNG or JPG copies appears under Export sizes while the format is WebP or AVIF. See PNG and JPG copies for posting.
Fit, Extend and AI fill
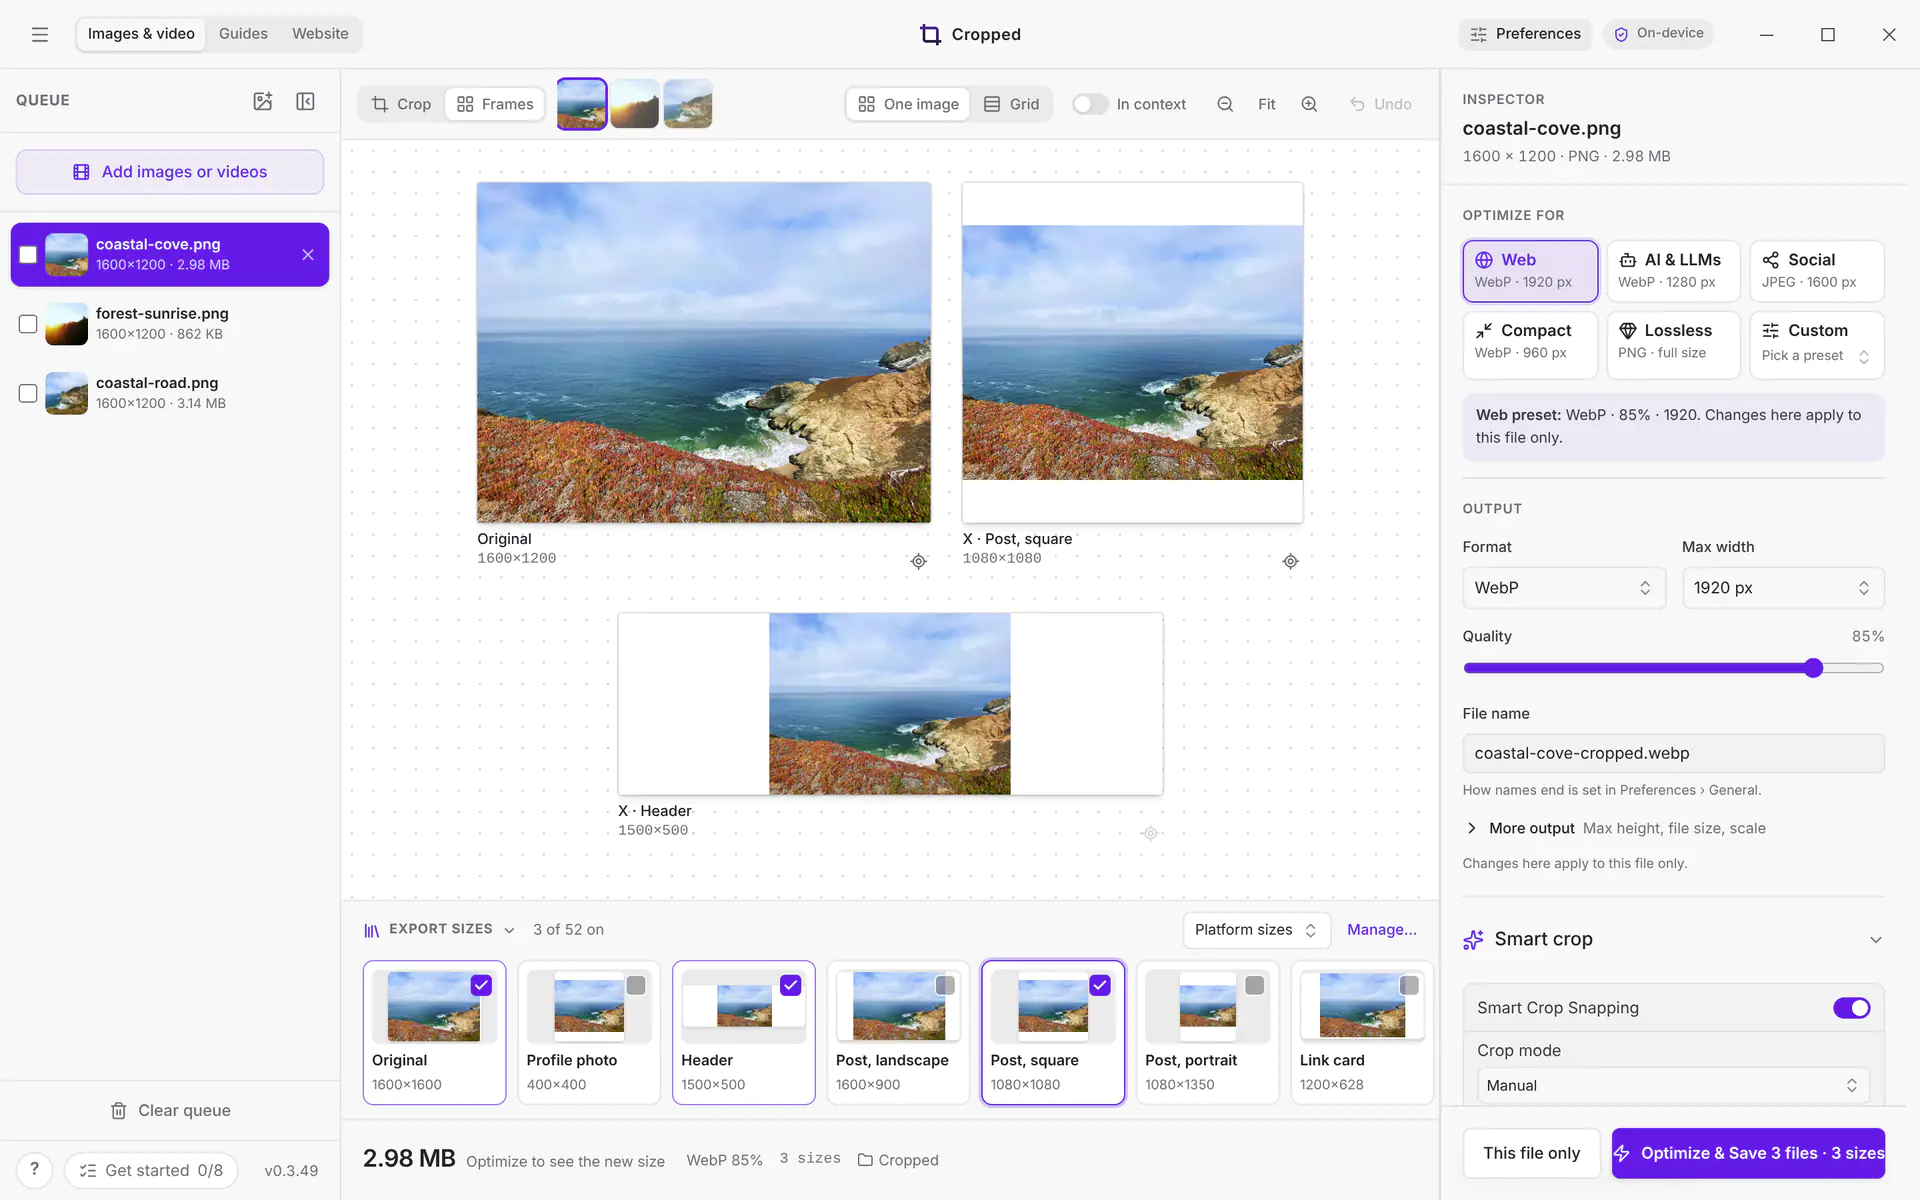
When a frame reaches past the picture, the Fill button on the picture toolbar picks what goes in the gap, the same as on the Mac: see Fit, background color and AI fill. Fit keeps the whole picture on a color, Crop trims to the frame, Extend fills the gaps from the picture's own edges, and AI fill has your own image provider paint the rest.
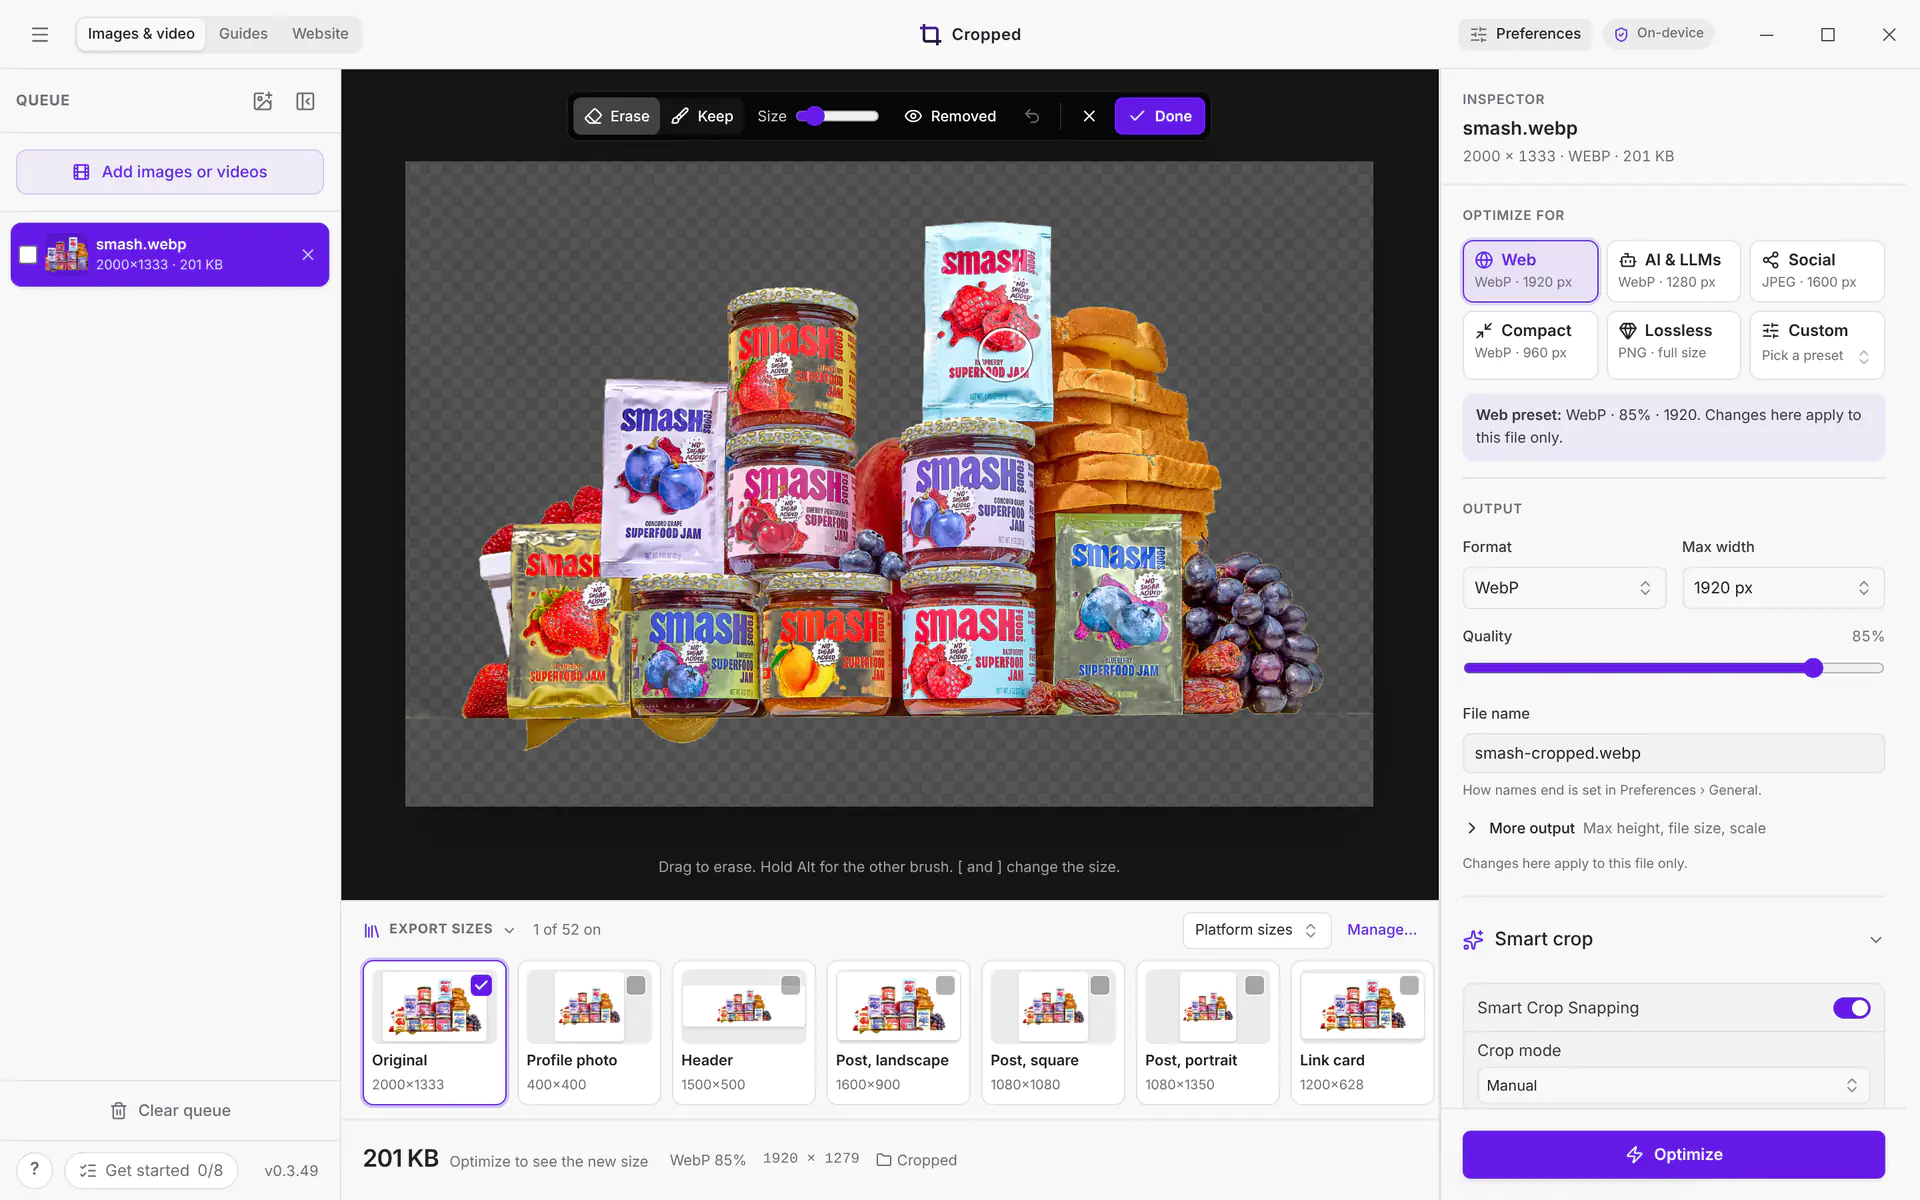
Remove a background
Remove background works the same as on the Mac: see Remove a background, including the Feather and Edge sliders. In the edge brush, hold Alt for the other brush, press Ctrl + Z to undo a stroke and Enter for Done. The first time, Cropped downloads its background model (about 71 MB); after that it works offline. It runs on the processor, so each picture takes several seconds. It needs about 6 GB of memory while it works, so on computers with less than 12 GB it can be slow; Cropped says so under the button. Background removal is in Beta.
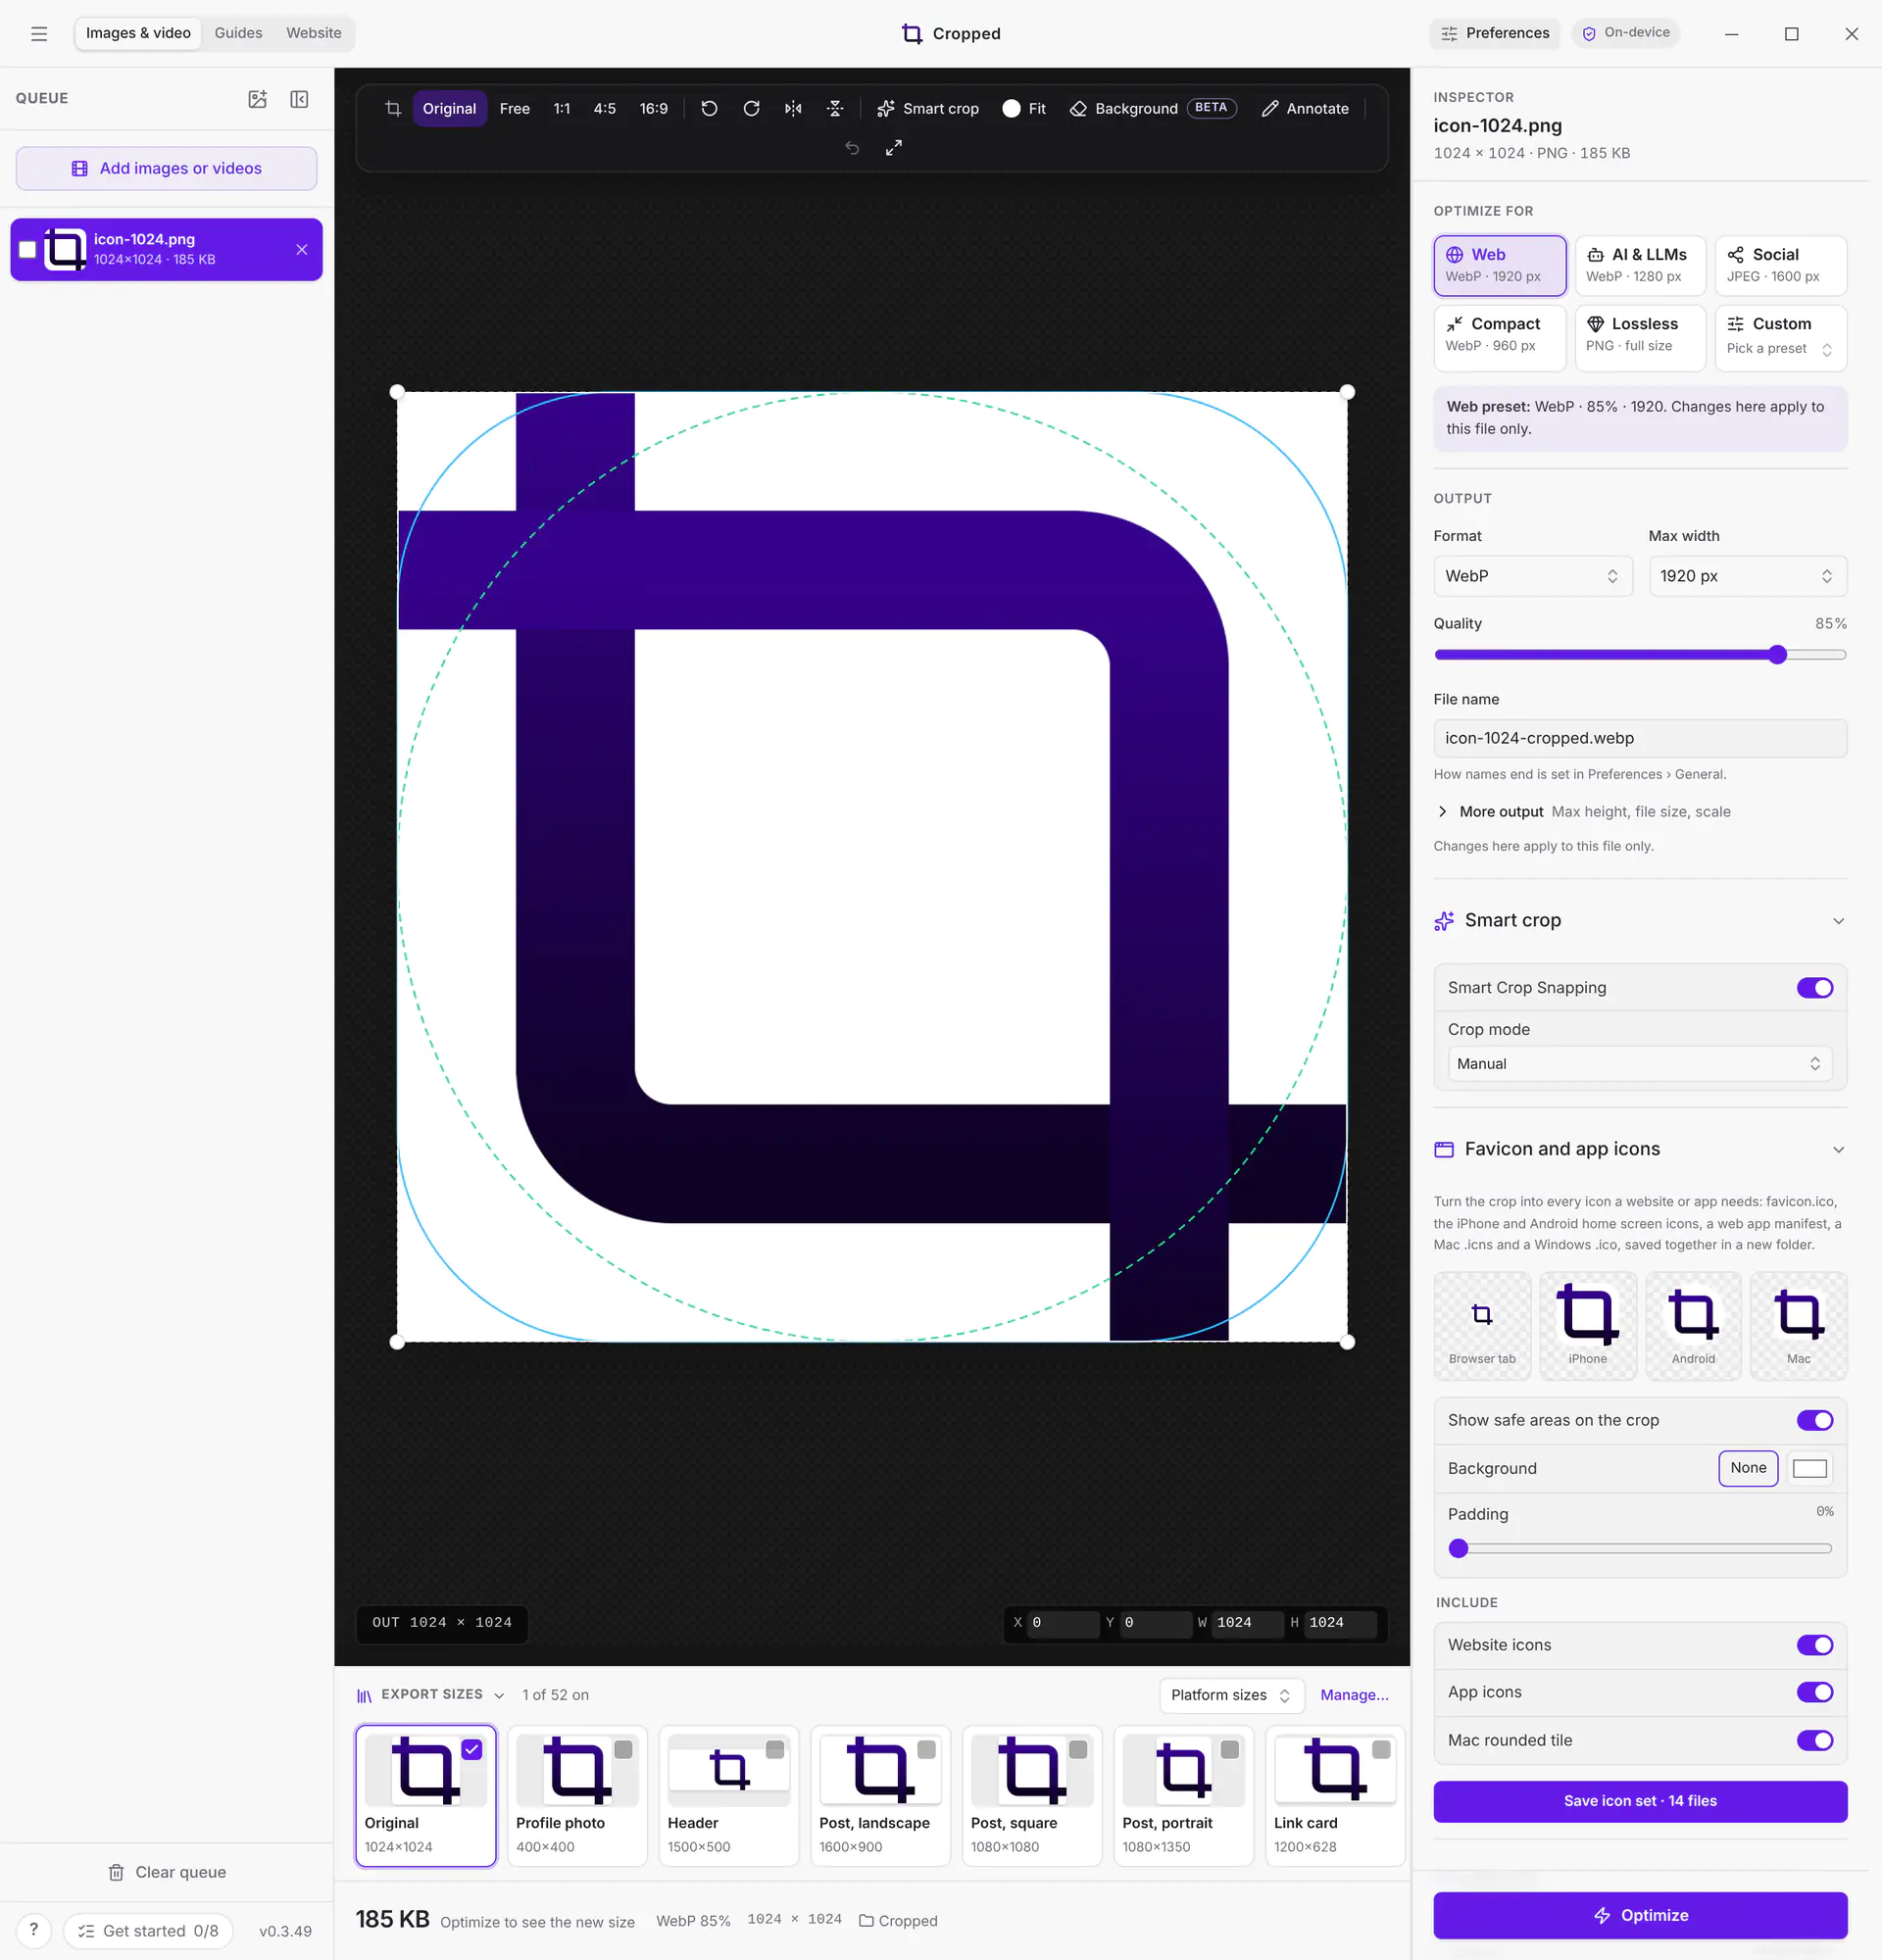
Favicon and app icons
This is the same on Linux as on the Mac, and it makes every file on every system, including a Mac .icns. See Make a favicon and app icons.
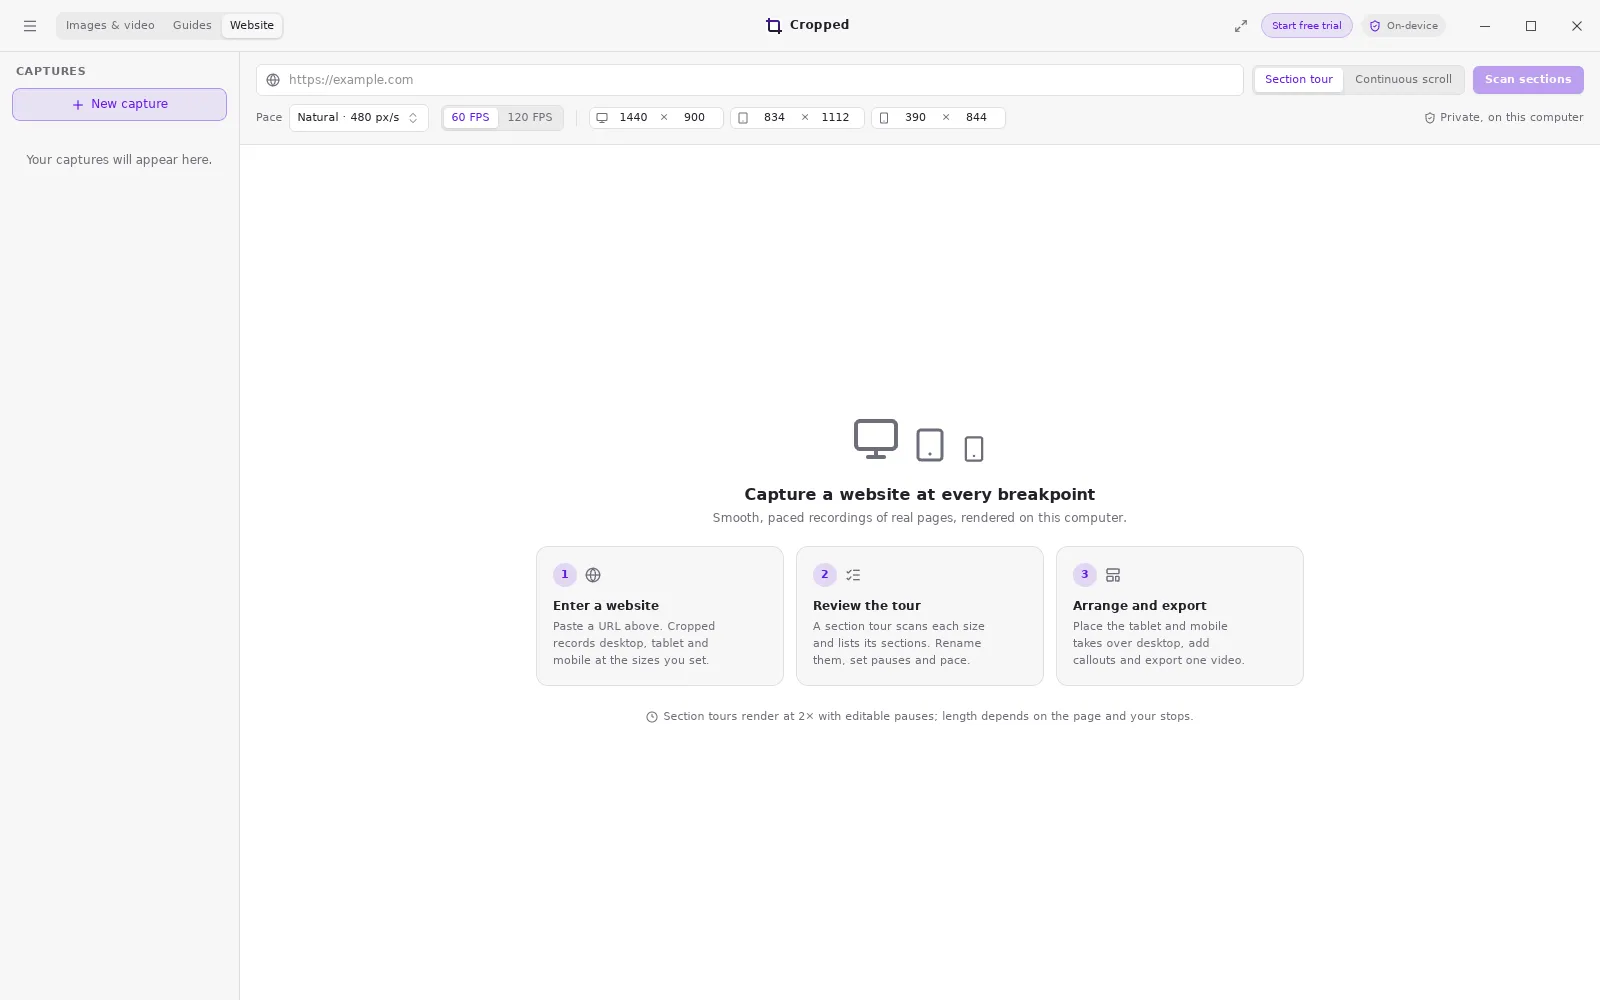
Website capture
Choose Website at the top of the Studio to record a site at desktop, tablet and mobile sizes, as a section tour or a continuous scroll, then arrange the takes into one composition. On Linux, Cropped draws the page itself at 2× with WebKitGTK, off screen, so it works the same on X11 and Wayland and needs no screen sharing. See Website capture.
Captions
Captions work the same on Linux as on the Mac: click Captions under a video's preview, then Make captions. The speech engine is built into Cropped for Linux, and the model downloads once the first time. Fast is picked by default on Linux because Accurate runs on the processor here and is slower; pick Accurate for names, jargon and noisy recordings. See Add captions to a video.
What you need
- Ubuntu 24.04 or later with the standard GNOME desktop (Wayland or X11). This is what the Beta is tested on.
- An x64 (Intel or AMD) or ARM64 computer.
- Other GNOME desktops such as Fedora or Debian with GNOME should work, but haven't been tested yet. KDE and other desktops can open Cropped, but screenshots and recording depend on their screen sharing support.
Install
- Download the Linux Beta for your computer (x64 or ARM64) from cropped.app.
- Open the downloaded
.tar.gzfile and extract it, or runtar -xzfon it in a terminal. - Double-click installer in the extracted folder, or run
./installerin a terminal. - Open Cropped from your apps.
Cropped updates itself like it does on the Mac and Windows. See App updates.
Screenshots and recording
On Linux:
- Area shows Cropped's own selection on a still picture of your screens. Drag the area; Esc cancels. Repeat last area captures the same area again. To use GNOME's screenshot tool instead, turn on Use the desktop's screenshot tool in Preferences › Capture.
- Window opens GNOME's screenshot tool. Pick a window, then press Enter or click the capture button.
- Full screen takes the screenshot straight away. The first time, Ubuntu asks whether apps may take screenshots: click Allow.
- Record lets you drag an area first. The first time, your desktop asks which screen to share: pick the one with the area and click Share, and Cropped records just that area. Press Enter without dragging to record a whole screen or one window instead. Pause, resume and stop work as usual, and the recording lands in the Drop Zone.
- The Drop Zone hides while a screen or area records and comes back when you stop. To keep it in the recording, turn on Show the Drop Zone in Preferences › Capture › Recordings; an open Drop Zone then stays open until you stop. Screenshots on Linux always include the Drop Zone if it's on screen, because the desktop takes the picture.
- Computer sound and your microphone can be recorded. Choose them under Sound in Preferences › Capture.
To stop a recording you can also click the screen sharing icon at the top right of the screen and choose Stop.
Zoom in on recordings
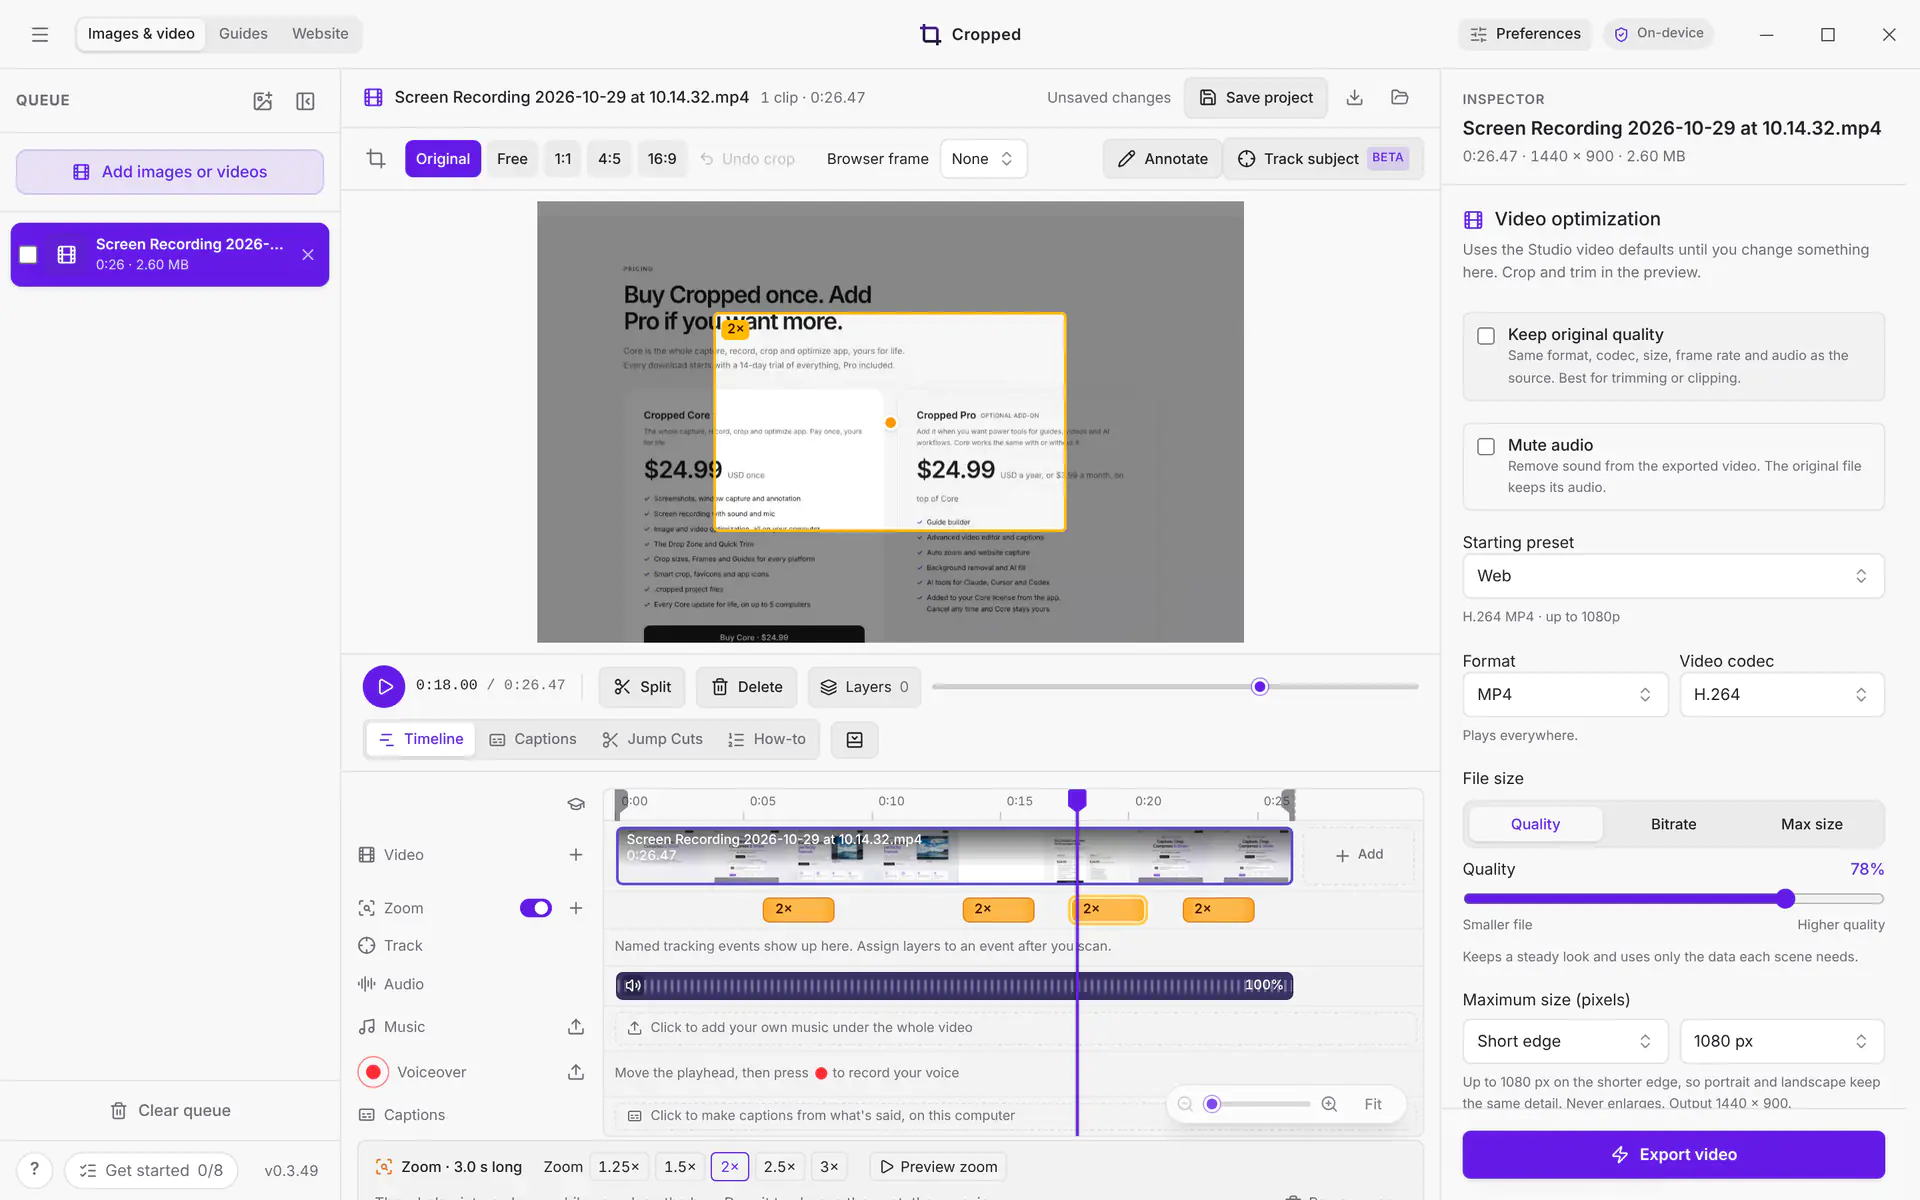
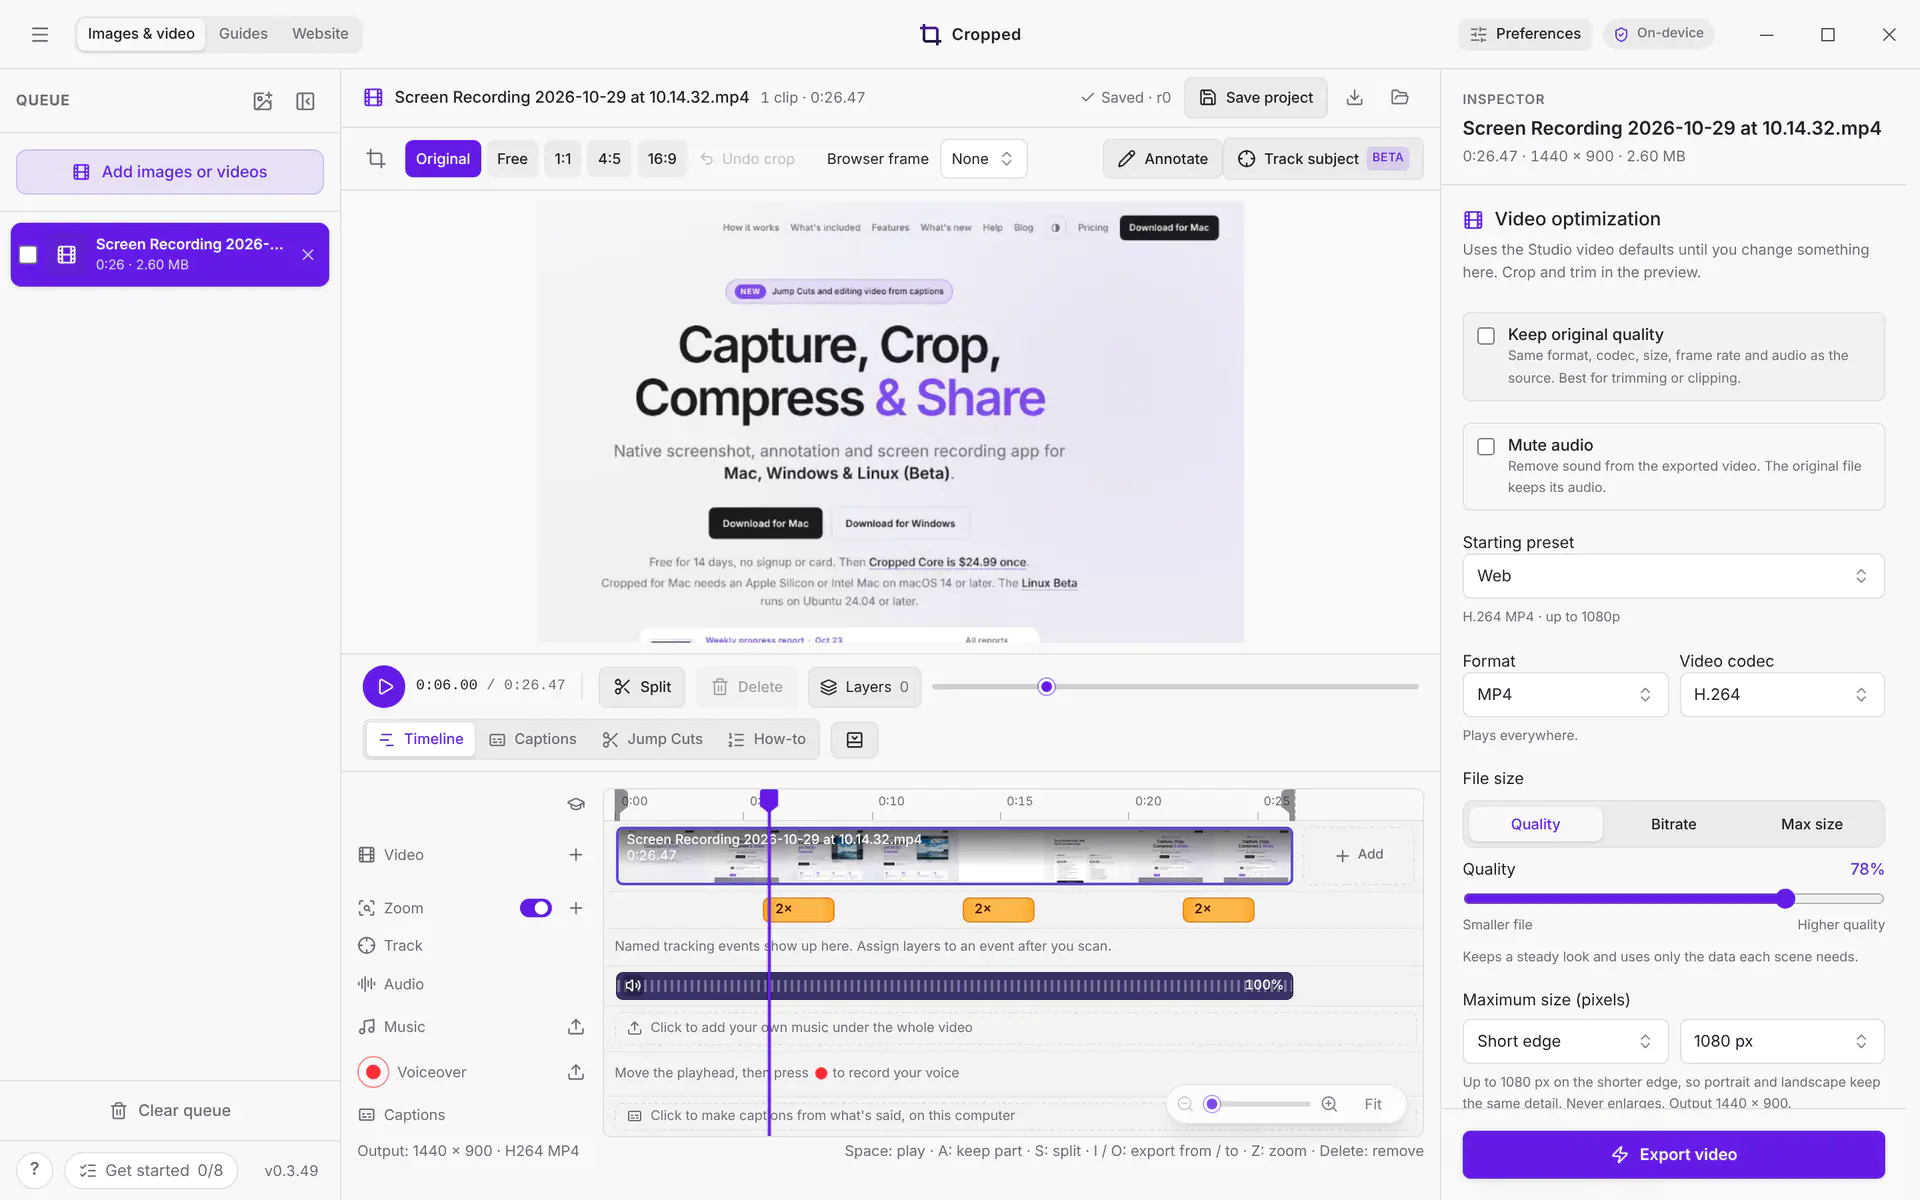
On an X11 desktop, turn on Zoom in on clicks in Preferences › Capture and record a whole screen: Cropped adds a zoom for each click, as on a Mac. Clicks while paused and the click that stops the recording are left out.
On Wayland (the default on recent Ubuntu), apps can't see clicks outside their own windows, so the option isn't shown. If you share one window instead of a screen, Cropped can't tell where in it you clicked. In both cases, add zooms yourself: in the Studio, move the playhead, press Z (or + on the Zoom lane) and drag the box to choose what to zoom in on. Moving, resizing and saving zooms work the same as on a Mac. See Zoom in on clicks.
Shortcuts
Wherever this guide shows ⌘ Command, use Ctrl on Linux. ⌥ Option is Alt, and ↩ Return is Enter.
| Action | Linux |
|---|---|
| Capture an area | Ctrl + Shift + 8 |
| Capture the full screen | Ctrl + Shift + 9 |
| Start or stop recording | Ctrl + Shift + 0 |
| Optimize | Ctrl + Enter |
On GNOME, Cropped adds its capture shortcuts to Settings › Keyboard › Keyboard Shortcuts › Custom Shortcuts, so they work from any app. Change them in Preferences › Capture and Cropped updates GNOME's list. See Keyboard shortcuts for the full list.
What's different in the Beta
For Mac, Windows and Linux side by side, see Feature support on Mac, Windows and Linux.
| Mac | Linux Beta | |
|---|---|---|
| Choosing an area | Cropped's own selection with a magnifier | Cropped's own selection on a still picture of your screens |
| Record an area | Yes | Yes (the desktop asks which screen to share the first time) |
| Window shadow on window captures | Yes | The desktop decides |
| Copy a capture to the clipboard | Yes | Screenshots only. Drag recordings and files from the Drop Zone, or use Show in Files |
| Menus | The menu bar | The menu button at the top left of the Studio, shortcuts and the Drop Zone buttons |
| Countdown timer and camera bubble | Yes | Not available |
| Zoom in on clicks | Added for you from your clicks | Added for you on X11 when you record a whole screen; on Wayland add zooms with Z |
| Website capture | Live recording or 2× design render | Always the 2× design render, with WebKitGTK |
| AI apps capturing and recording windows | Yes | Not yet |
| Video encoding | Apple's built-in encoder | NVIDIA or Intel graphics encoder when available, otherwise a built-in encoder |
| Background removal | Built into macOS (subject lifting) | Cropped's own BiRefNet model, downloaded once (about 71 MB), on the processor (slower) |
Where files are saved
- Optimized files: Downloads/Cropped
- Settings and capture history: ~/.config/cropped
- Undo moves files to the Trash.
If something doesn't work
- Screenshots say permission was denied: open Settings › Privacy & Security › Screenshots (on some versions, Settings › Apps › Cropped) and allow Cropped, then try again.
- Recording says your desktop has no screen recording service: Cropped needs
xdg-desktop-portaland PipeWire, which Ubuntu includes. On other desktops, install your desktop's portal package (for examplexdg-desktop-portal-gnomeorxdg-desktop-portal-kde). - No microphone was found: connect one and check Settings › Sound › Input, or choose No sound in Preferences › Capture.
- Add images or videos shows an empty folder: in Cropped 0.3.25 and earlier, the Open dialog on Linux hides pictures and videos. Update to 0.3.26 or later, or drag them from Files onto the Studio or the Drop Zone.
Send feedback
The Beta gets better with your reports. To report a bug or ask for a Linux feature, use Preferences › Bug report in the app (see Bug report), Request a feature, or send us a message. Tell us your Linux version, your desktop (GNOME, KDE…) and whether you use Wayland or X11.
Still stuck? Click the ? button at the bottom left of the Cropped Studio to ask, send us a message, or request a feature.